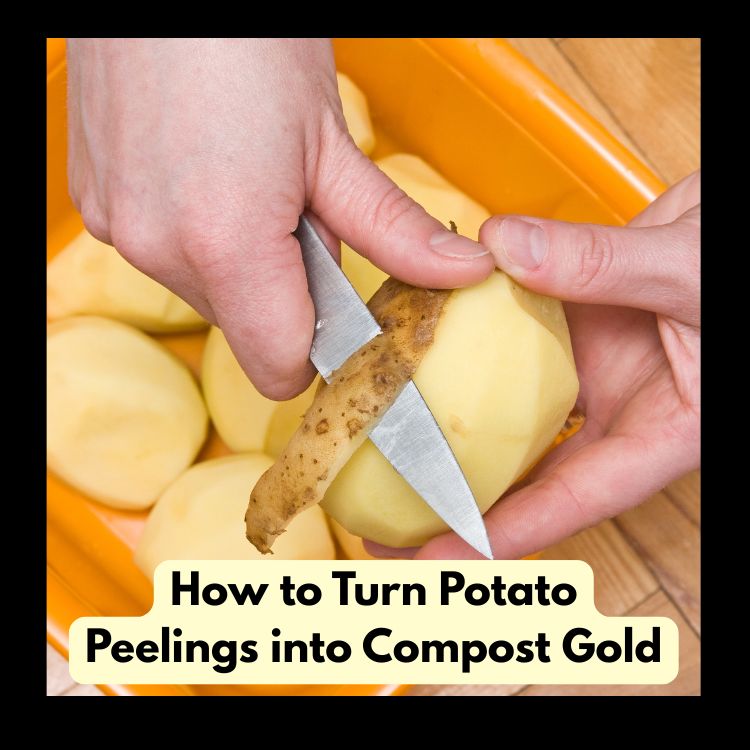
How to Turn Potato Peelings into Compost Gold
Hey there, fellow eco-warriors! I’m just a regular person who loves messing around in the garden and finding ways to make the planet a little greener.
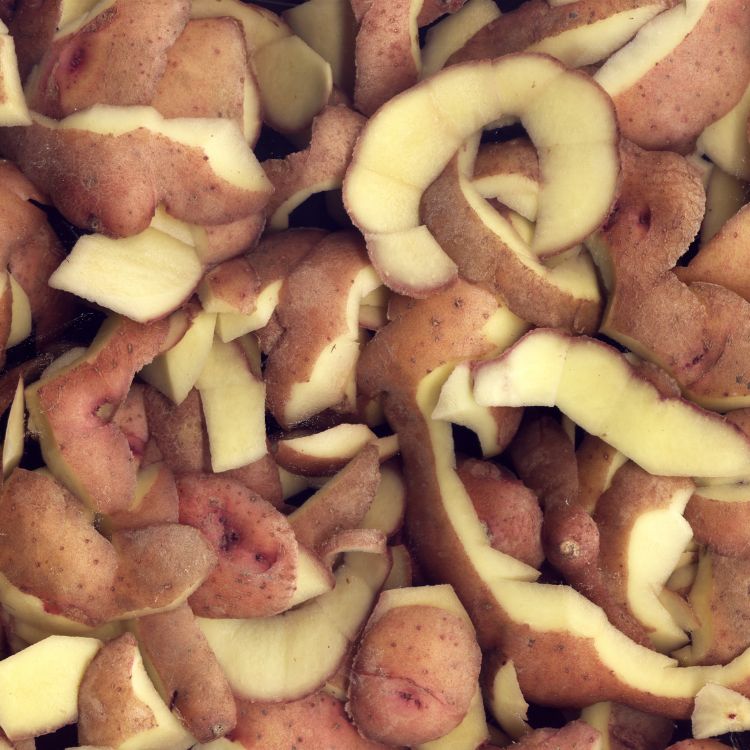
One of my favorite discoveries? Learning how to turn potato peelings into compost gold. Yep, those scraps you’d normally toss in the bin can become nutrient-packed compost that makes your plants thrive.
Let me walk you through how I do it, sprinkle in some easy science, and share tips to make it fun and simple. Plus, I’ll recommend a few tools to make the process even easier.
Why Potato Peelings Are Compost Magic
Potato peelings are like hidden treasure in your kitchen. They’re packed with nutrients like potassium, phosphorus, and nitrogen—stuff plants absolutely love.
When you compost them, these nutrients break down and create a rich, dark mix that’s basically superfood for your garden.
Think of it like giving your flowers or veggies a smoothie full of goodness!
The cool science bit? Decomposition. That’s when tiny microbes (like bacteria and fungi) munch on your potato scraps, breaking them into simpler bits.
It’s nature’s recycling system, and it’s super easy to harness. Even a young person can get the hang of it—no fancy degree needed.
Step-by-Step: How to Turn Potato Peelings into Compost Gold
Here’s my go-to method for transforming those potato peels into something amazing. It’s straightforward, and I’ve added tips to keep it foolproof.
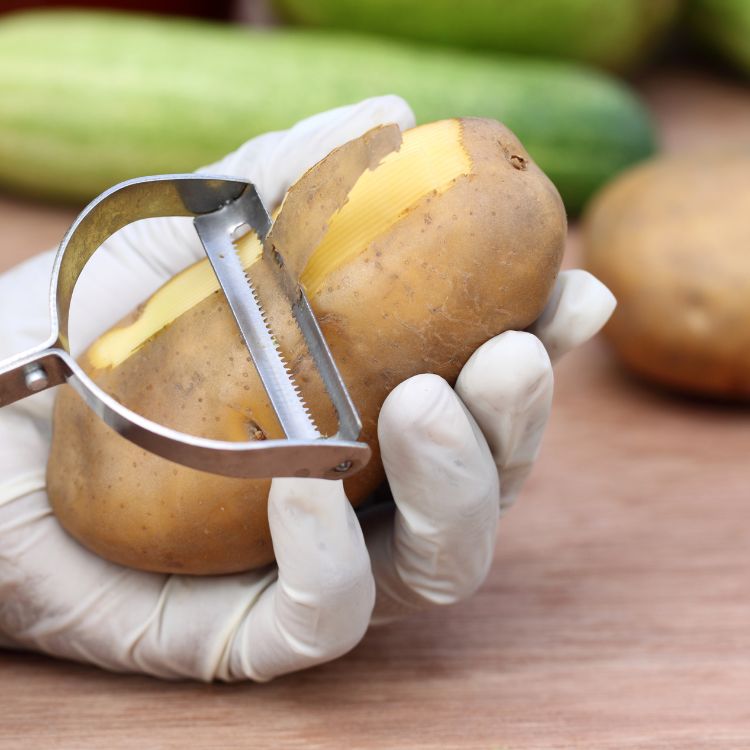
Step 1: Collect Your Potato Peelings
Every time you’re prepping spuds for dinner, save the peels in a small container. I use a lidded bowl I keep in the fridge to avoid smells. Tip: Don’t let them sit too long—compost them within a few days to keep things fresh.
- Science tidbit: Potato peels are “green” compost material, meaning they’re rich in nitrogen. This helps feed the microbes that do the decomposing.
Step 2: Set Up Your Compost System
You don’t need a big backyard to compost. I started with a simple compost bin in a corner of my garden. If you’re tight on space, a countertop composter or even a vermicompost bin works great (more on that later).
love the Back Porch ComposTumbler (around £150). It’s easy to turn, keeps pests out, and speeds up the process. For smaller spaces, try the OXO Good Grips Compost Bin (£20)—perfect for collecting kitchen scraps.
- Tip: Make sure your bin has air holes. Microbes need oxygen to work their magic.
Step 3: Mix It Right
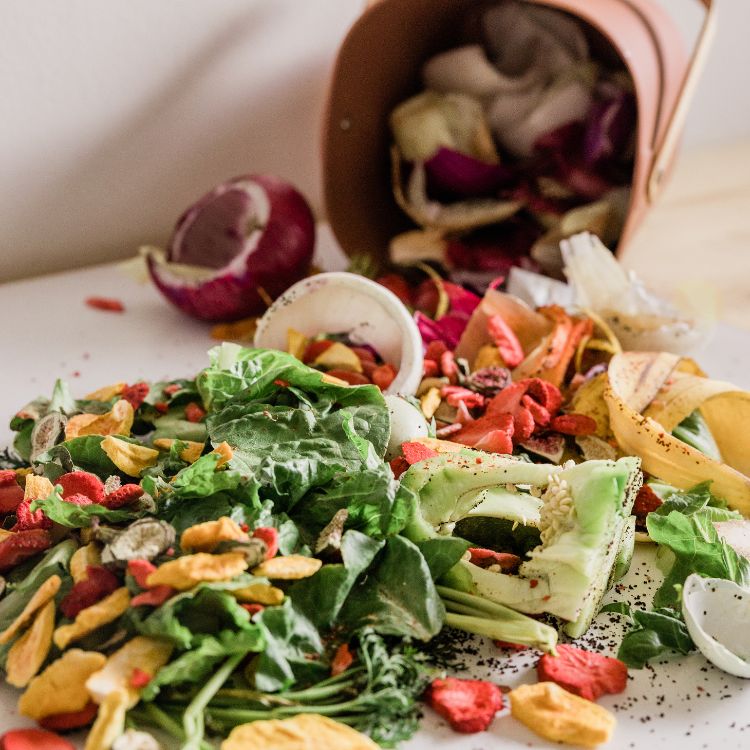
Compost needs balance—think of it like a recipe. Potato peelings are awesome, but they need “brown” materials like dried leaves, cardboard, or shredded paper to balance the nitrogen.
Aim for about 2 parts brown to 1 part green.
- Hint: I toss in some torn-up egg cartons or old newspapers. It’s free and works like a charm.
- Science alert: Too many potato peels without brown stuff can make your compost slimy. The brown materials add carbon, which keeps things fluffy and helps microbes breathe.
Step 4: Add to Your Bin
Layer your potato peelings with brown materials in your compost bin. I like to give it a quick stir to mix things up. If you’re using a tumbler, a few spins do the trick.
- Tip: Chop your peels into smaller bits to help them break down faster. A quick snip with scissors works.
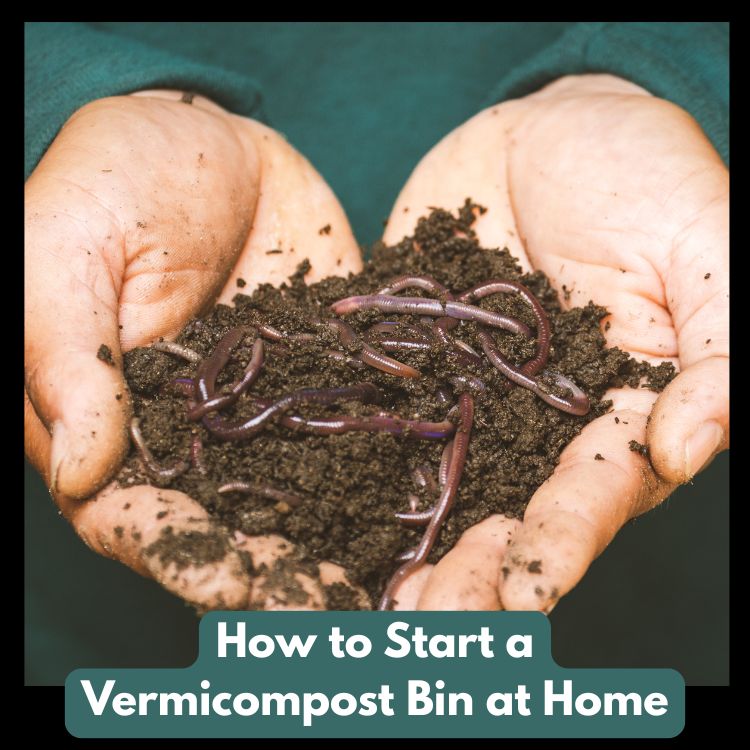
- Internal link: Want to try worms for faster composting? Check out my guide on how to start a vermicompost bin at home—it’s got a section on using potato peels safely with worms.
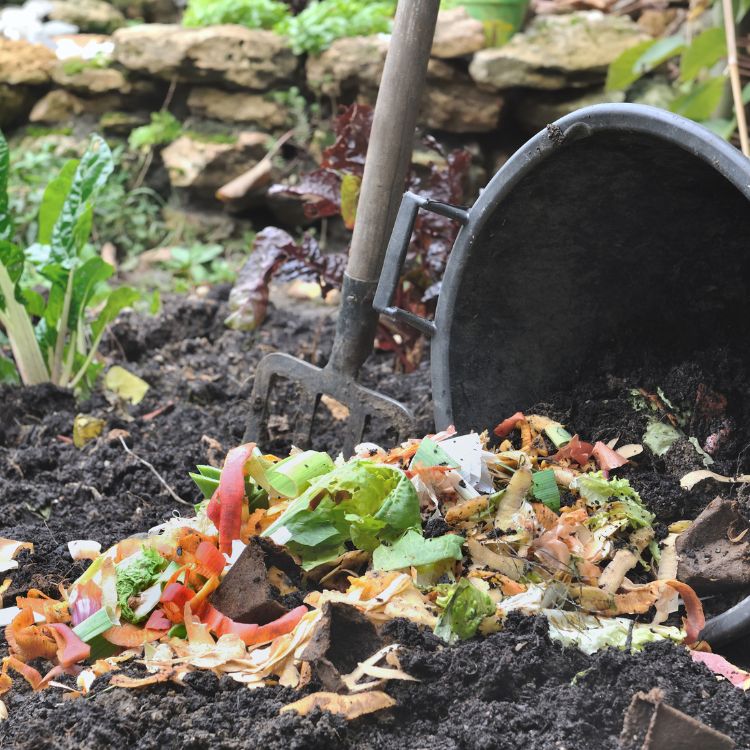
Step 5: Let It Cook
Now, let nature do its thing. Turn your compost every week or so to keep air flowing. In a few weeks (or months, depending on your setup), those peels will transform into dark, crumbly compost—your compost gold!
A compost thermometer (£10-£20) is handy to check if your pile’s “cooking” (it should be warm, around 50-60°C). I use the REOTEMP Backyard Compost Thermometer—cheap and reliable.
- Science bit: The heat comes from microbes working hard. It’s like they’re having a party in there, breaking down your scraps!
Step 6: Use Your Compost Gold
Once it’s ready, spread your compost around plants, mix it into soil, or even use it as a top dressing. Your garden will thank you with bigger blooms and tastier veggies.
- Hint: I add a handful to my tomato plants every spring. They go wild for it!
Vermicomposting: A Potato Peel Twist
If you want to level up, try vermicomposting—using worms to break down your scraps. Potato peelings work great here, but there’s a catch: worms don’t like too many starchy scraps at once.
My trick? Mix small amounts of peels with other greens like lettuce or coffee grounds.
Curious about worms? My vermicompost guide explains how to avoid pitfalls with potato peels.
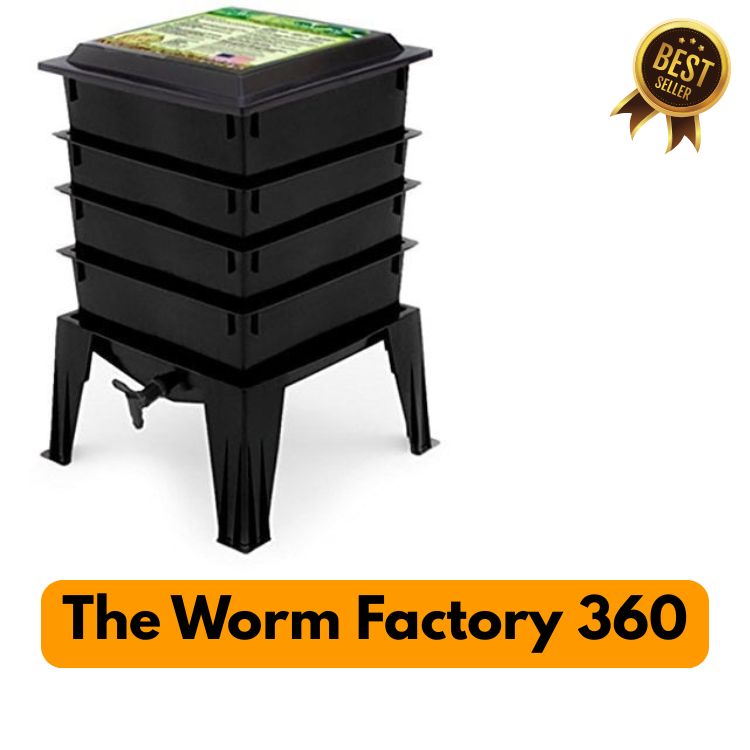
The Worm Factory 360 (£100) is awesome for beginners. It’s compact and comes with everything you need to start.
Benefits of Turning Potato Peelings into Compost Gold
Why bother? Here’s why I’m hooked:
- Saves waste: Keeps potato peels out of landfills, where they’d just rot and release methane (a bad-for-the-planet gas).
- Boosts plants: Your compost gold is like a natural fertilizer, making plants stronger without chemicals.
- Saves cash: No need to buy fancy compost—your kitchen scraps do the job for free!
- Fun and easy: It’s like a science experiment you can do at home. Kids love watching the process, too.
Tips and Tricks for Success
- Avoid cooked peels: Fried or boiled potato scraps can attract pests or grow mold. Stick to raw peels for best results.
- Check for sprouts: If your peels have eyes or sprouts, cut them off before composting—they can sometimes grow in the pile!
- Keep it moist: Your compost should feel like a wrung-out sponge. Too dry? Add water. Too wet? Toss in more brown stuff.
- Patience is key: Composting takes time, but it’s worth it. If you’re impatient like me, a tumbler speeds things up.
Who’s This For?
Learning how to turn potato peelings into compost gold is perfect for:
- Beginner gardeners: You don’t need to know much to start—just a bin and some scraps.
- Eco-conscious folks: If you want to reduce waste, this is a no-brainer.
- Families: Kids can get involved, stirring the pile or collecting peels. It’s a great way to teach them about recycling.
- Small-space dwellers: Even apartment folks can compost with a countertop bin or worm setup.
How easy is it? Super easy. If you can peel a potato, you can compost. It takes maybe 5 minutes a week to manage, and the results are so rewarding.
FAQs About How to Turn Potato Peelings into Compost Gold
- Can I compost all potato peelings?
Raw peels are best. Avoid cooked ones—they can get smelly or attract rats. - How long does it take to make compost?
About 2-6 months, depending on your bin and how often you turn it. Tumblers are faster. - Will my compost smell bad?
Nope, if you balance greens and browns and turn it regularly. A bad smell means too many wet scraps. - Can I compost peels with sprouts?
Cut off any sprouts first to avoid mini potato plants in your compost. - Do I need a big garden?
Not at all! A small bin or worm composter works anywhere. - Can worms eat potato peels?
Yes, in small amounts. Too much starch can upset their tummies. - What if my compost gets slimy?
Add more brown materials like leaves or paper and stir it up. - Is compost safe for all plants?
Totally! Veggies, flowers, and herbs all love it. - Do I need special tools?
A bin is enough, but a thermometer or pitchfork makes it easier. - Why is it called compost gold?
Because it’s valuable for your plants—like gold for your garden!
So, there you have it—how to turn potato peelings into compost gold in a few simple steps. Collect your peels, mix them with brown materials, toss them in a bin, and let nature work its magic.
It’s cheap, eco-friendly, and makes your garden glow. All you need is a little space and a bit of patience.
Ready to give it a go? Grab a container for your peels today and start your compost adventure. Trust me, once you see that rich, crumbly compost, you’ll be hooked.
Share your progress in the comments or check out my vermicompost guide for more tips. Let’s make some compost gold together!