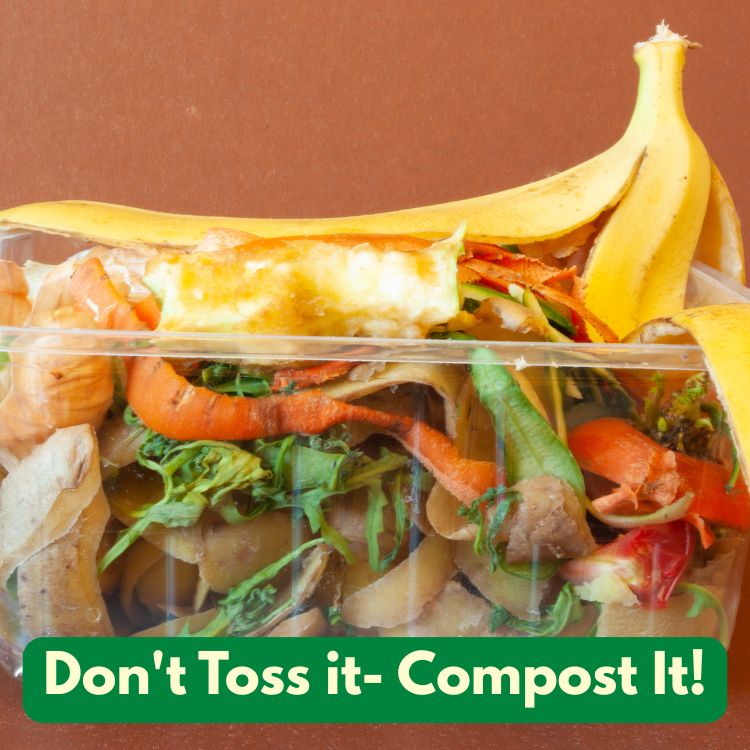
Urban Gardening’s Secret Weapon: Composting in Small Spaces
Have you ever wondered how gardeners with larger plots effortlessly create bountiful compost, leaving you envious with only a small patch of greenery?
Fear not, my fellow urban gardener!
I’ve devised an unexpectedly efficient way to produce high-quality compost from my little garden, and I’m here to share the secrets with you.
Say goodbye to the overwhelming notion that composting is reserved for those with sprawling yards and ample materials.
Let’s delve into a method tailored for small spaces but yields big results.
Understanding Your Browns and Greens
Composting can seem like a daunting task, but it doesn’t have to be.
One of the most crucial aspects of successful composting is understanding the balance between brown and green materials.
Let’s dive into what these terms mean and why maintaining a 50/50 mixture is essential.
What Are Browns and Greens?
In the world of composting, materials are often categorized as either browns or greens. But what does that mean?
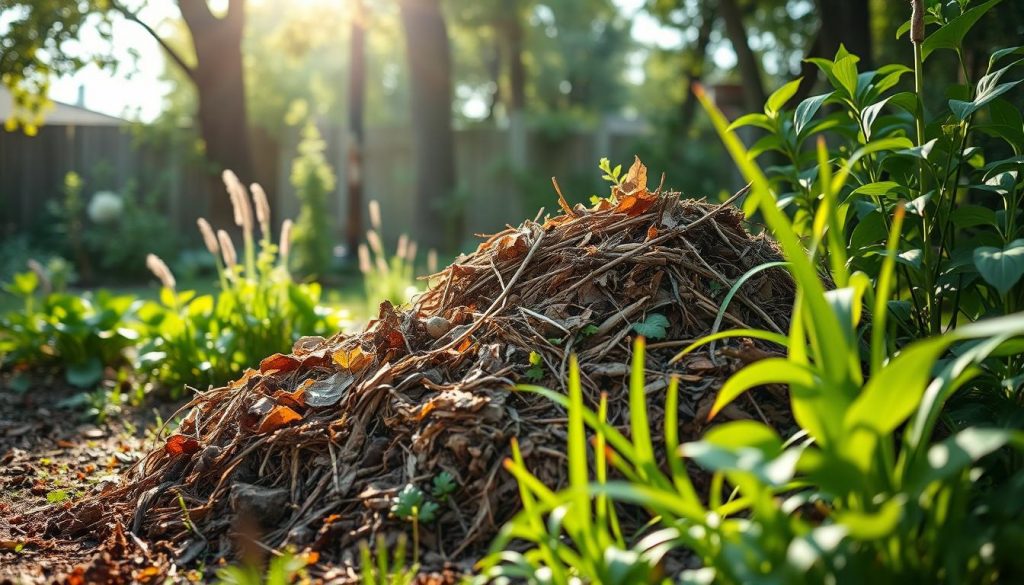
- Browns: These are dry, woody materials. Think of items like wood chips, shredded paper, or dried leaves. They are rich in carbon, which is crucial for feeding the microorganisms that break down the compost.
- Greens: These are fresh, wet materials. Examples include food scraps, fresh grass clippings, and fresh leaves. Greens are high in nitrogen, which provides the energy that microorganisms need to thrive.
It’s really simple: you stockpile the brown or dry woody material when you have an abundance of it.
Keep it near where you’re composting. Then, you add the fresh or green material as and when you’re producing it.
The Importance of a 50/50 Mixture
Why is it so important to maintain a 50/50 mixture of browns and greens? Well, this balance is key to creating the right environment for composting.
Too much green material can make your compost pile wet and smelly, while too much brown material can slow down the decomposition process.
By keeping an equal mix, you ensure that your compost pile has the right balance of moisture and air.
This helps the microorganisms work efficiently, breaking down the materials into rich, fertile compost.
One crucial aspect is maintaining a good balance between brown and green materials. Simplifying these distinctions makes the process so much easier.
Simplifying the Science
Now, you might hear people talking about carbon-to-nitrogen ratios and other scientific terms. But let’s keep it simple.
“Keep it simple and call them greens and browns…that’s helpful.”
There’s no need to over-complicate things with scientific jargon.
Just remember: browns are dry and woody, greens are fresh and wet.
For those of us with smaller gardens or allotments, we might not have the massive quantities of materials that larger gardens do.
But that’s okay! You can still achieve great results by maintaining the right balance and keeping it simple.
Practical Tips for Your Compost Pile
- Stockpile Browns: Whenever you have an abundance of brown materials, keep them near your composting area. This way, you can easily add them as needed.
- Add Greens Regularly: As you produce green materials, add them to your compost pile. This keeps the decomposition process active and efficient.
- Monitor the Balance: Pay attention to the texture and smell of your compost pile. If it becomes too wet or smelly, add more browns. If it’s too dry, add more greens.
Remember, composting is a natural process. It doesn’t have to be perfect, and it’s okay to make adjustments along the way.
The key is to keep it simple and maintain that balance between browns and greens.
So, next time you’re in the garden, take a moment to think about your browns and greens. Are you maintaining that 50/50 mixture?
If not, it’s never too late to start.
Composting can be a rewarding and sustainable way to manage your garden waste, and with a little attention to detail, you can create rich, fertile compost that will benefit your plants and the environment.
6 Ways To Compost
The Art of Insulation
The Importance of Insulated Composting in Small Gardens
Have you ever wondered why your compost pile isn’t heating up as it should? In small gardens, the challenge is real.
Unlike larger spaces, small gardens don’t have the luxury of large quantities of material that naturally insulate compost.
This is where insulation becomes crucial. Without it, the heat necessary for decomposition escapes, leaving your compost cold and slow.
Why is this heat so important?
Well, the heat generated by bacteria during decomposition is what breaks down organic matter into rich, fertile compost. Without enough heat, this process slows down significantly.
As someone who loves gardening, I can tell you that insulating your compost is like giving it a warm blanket during winter.
It helps maintain the necessary temperatures for efficient decomposition.
“Insulating it is going to make a massive difference to helping your bin to heat up.”
Different Methods to Insulate Your Compost
Now, let’s talk about how we can insulate compost effectively. There are several methods, and you don’t need to spend a fortune.
In fact, you might already have what you need lying around.
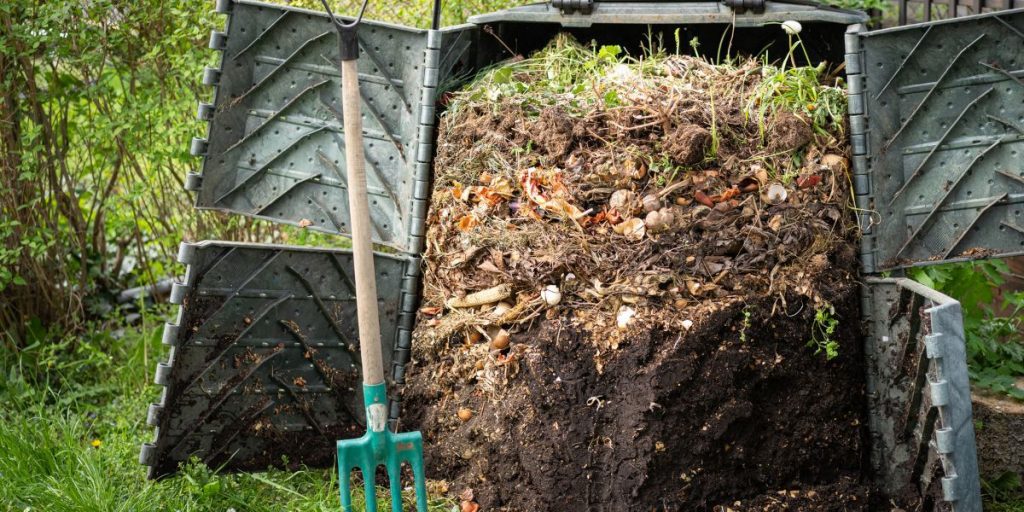
- Fly-tipped Fridge Freezers: Believe it or not, an old fridge freezer can be a fantastic insulated container. It’s like a ready-made insulated box. I once used a fly-tipped fridge freezer, and it worked wonders for my small garden. It’s cost-effective and keeps the heat in.
- Traditional Compost Bins: These are widely available and come in various shapes and sizes. From pallet bins to cylindrical ones, there’s something for everyone. They provide some insulation, but you might need to add extra layers during colder months.
- Worm Composting (Vermicomposting): This method uses worms to break down organic matter. While it doesn’t generate as much heat as traditional composting, it can be done in small spaces using buckets or bins. It’s a great alternative if you’re short on space.
Each method has its pros and cons, but the key is to find what works best for your garden. For me, the fridge freezer was a game-changer.
It cost nothing, and the insulation was top-notch.
Benefits of Using an Insulated Container
So, why should you consider using an insulated container for your compost? Let’s break it down:
- Retains Heat: As mentioned earlier, insulation helps retain the heat produced during decomposition. This is crucial for speeding up the composting process.
- Hot Composting: Insulated containers allow for hot composting, which has several advantages. It can sterilize materials that might not be suitable for cold composting, and it dramatically increases the speed at which compost is made.
- Cost-Effective: Using materials you already have, like an old fridge, can save you money. Why buy expensive compost bins when you can repurpose something you already own?
- Environmental Impact: By reusing materials like fridge freezers, you’re reducing waste and giving new life to items that would otherwise end up in a landfill.
In conclusion, finding creative ways to insulate your compost is essential, especially in small gardens.
Whether you choose a fly-tipped fridge, a traditional bin, or vermicomposting, the goal is the same: keep the heat in and let nature do its magic.
Remember, “insulating it is going to make a massive difference to helping your bin to heat up.” So, let’s get creative and start composting!
Adding It All Together: A Step-by-Step Guide
Composting is a journey, not a destination. It’s a process that requires patience, a bit of trial and error, and a willingness to let nature take its course.
So, how do we bring it all together? Let’s dive into the steps that will transform your kitchen scraps and garden waste into rich, nutrient-filled compost.
Step 1: Start with a Layer of Brown Materials
Think of brown materials as the foundation of your compost pile. These are the dry, carbon-rich items like dried leaves, straw, and shredded paper.
They provide structure and aeration, allowing air to circulate and microbes to thrive.
It’s like laying the groundwork for a house. Without a solid base, everything else can crumble.
Begin by adding a generous layer of these brown materials. Don’t worry about getting the ratios perfect.
As one wise composter once said, “I’m not baking a cake, I don’t particularly care if it changes the outcome of a batch.”
The key is to have a stockpile ready, so you can add more as needed.
Step 2: Gradually Add Green Materials
Once your brown layer is in place, it’s time to introduce the greens. These are your nitrogen-rich materials, like fruit and vegetable scraps, coffee grounds, and fresh grass clippings.
They provide the energy that fuels the composting process.
As you go about your daily routine, collect these green materials. Add them to your compost pile as they become available.
It’s a bit like feeding a pet—consistent, small additions keep everything healthy and active.
Remember, there’s no need to measure precisely. Just add what you have, when you have it.
Step 3: Let It ‘Cook’ for a Few Months
Now comes the waiting game. Once your pile is established, let it sit and ‘cook’ for a couple of months. This is when the magic happens.
Microorganisms break down the materials, transforming them into rich compost. It’s a bit like slow-cooking a stew.
You can’t rush it, but the results are worth the wait.
During this time, you might notice the pile shrinking. That’s normal. As materials break down, they take up less space.
You can add more browns and greens as needed to keep the process going.
Simple Answers: Composting in Small Spaces
Can you compost in an apartment or small home?
Yes, you can compost in apartments and small spaces. Options include worm bins (vermicomposting), bokashi systems, countertop electric composters, or collection services that pick up your scraps.
What kinds of food scraps work for small-space composting?
Go for fruit and veggie scraps, coffee grounds, tea bags, eggshells, and grains. Stay away from meat, fish, dairy, and oily foods to stop odor and pests.
Does small-space composting smell?
If you keep the balance of “greens” (wet scraps) to “browns” (dry stuff like paper or leaves) right, it shouldn’t smell.
If you notice a bad odor, add more dry material, turn the contents, and make sure you haven’t put in meat or dairy.
What’s the best compost system for tight places?
Worm bins (vermicomposters) and bokashi buckets work well indoors. Some use electric countertop units, but you can also try a tightly sealed bin on a balcony if you have one.
How do you keep bugs and pests away from indoor bins?
Keep your bin closed, avoid adding animal products, and always bury food scraps under bedding (like shredded paper or dry leaves). If flies show up, add more dry material.
How long does it take to get compost in a small space?
With worms or an electric composter, you might get finished compost in just a few weeks. A basic bin without worms can take a few months, depending on how you manage it.
Can you compost on a balcony or fire escape?
Yes, you can use a secure tumbler or sealed bin outside—as long as it won’t leak or attract animals. Check local rules before placing bins on fire escapes.
What can you do if you don’t have room for any bin?
Look for community or municipal compost collection. You can freeze smaller scraps in bags and drop them off at local sites, farmers markets, or with pickup services.
Do worms ever escape from indoor compost bins?
Worms usually stay put if the bin is moist, dark, and not too wet or acidic. If too many scraps rot, or the bin overheats or floods, worms may try to leave.
Is compost from small bins safe for houseplants or gardens?
Yes, well-finished compost boosts houseplants, container gardens, and even yard soil. Make sure it’s crumbly and smells earthy before using.
What should you never put in a small-space compost bin?
Skip meat, fish, dairy, greasy foods, pet waste, diseased plants, and glossy or coated paper. These things cause odors or introduce unwanted bacteria and pests.
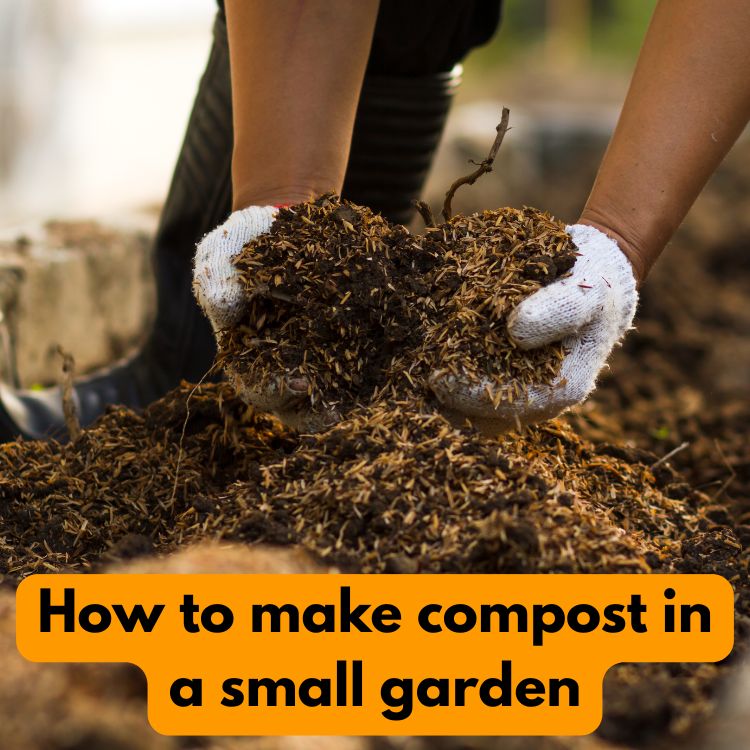
How do you know when your compost is ready?
Finished compost is dark, crumbly, and smells earthy—not sour or rotten. Most scraps should be broken down and unrecognizable.
Can you speed up composting indoors?
Chop scraps small, give the mix a stir, and keep the bin’s bedding moist but not soggy. Balancing food scraps and shredded paper or dried leaves helps a lot.
Does small-space composting really help the environment?
Yes—composting keeps food out of landfills, where it makes methane—a major greenhouse gas. Even one small bin makes a difference.
Where can you learn more or find help nearby?
Check out local gardening clubs, city compost programs, or online groups for tips. Some cities offer discounts on indoor compost bins or host drop-off sites for your scraps.
Composting Timelines and Tips
Typically, it takes about 2-3 months for compost to mature. After that, you can bag it up and let it mature for another month or two.
This extra time allows the compost to stabilize, making it even more beneficial for your garden.
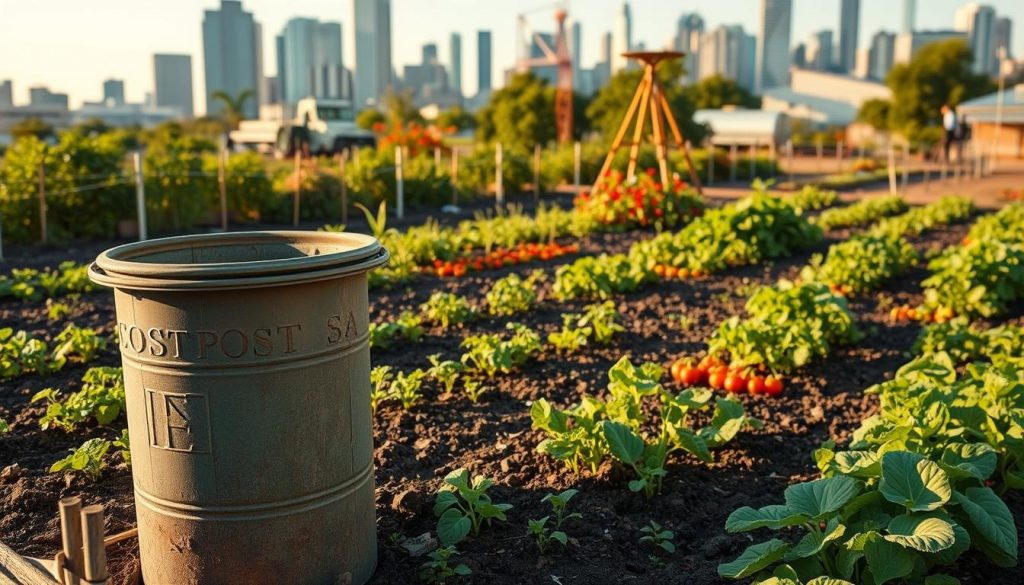
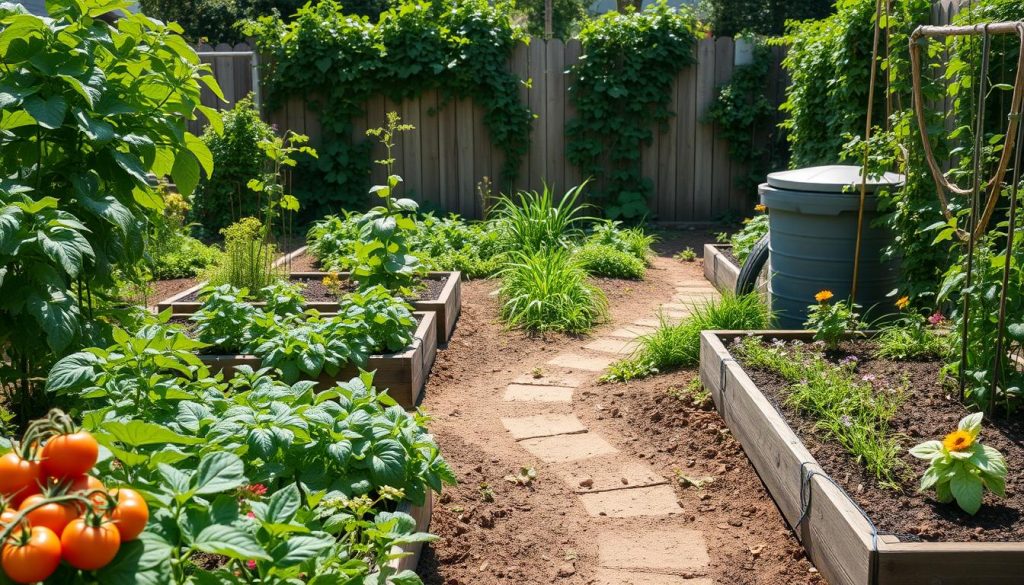
And here’s the beauty of it: You don’t need a large plot of land to compost. A small corner of your yard or even a balcony can suffice.
It’s a sustainable process that fits into any lifestyle.
Conclusion: Embrace the Imperfection
In the end, composting is about embracing imperfection. Your technique doesn’t need to be perfect.
Start with browns, keep adding greens, and let nature do its work. The benefits are immense—richer soil, less waste, and a sense of accomplishment.
So, why not give it a try? Start small, be consistent, and watch as your efforts transform into something wonderful.
Remember, it’s not about getting it right every time. It’s about learning, adapting, and enjoying the process.
After all, isn’t that what life’s all about?