Curious about What is the best composting method?
Compare hot, cold, vermicomposting, and bokashi, then pick the right fit for your space, time, and goals.
When choosing a composting method, ask yourself what you want from composting at home.
The U.S. EPA suggests picking a system that matches your space, time, and goals.
You might prefer a closed bin for a small yard, a worm bin for indoors, a tumbler for easy turning, or an open pile for bigger areas.
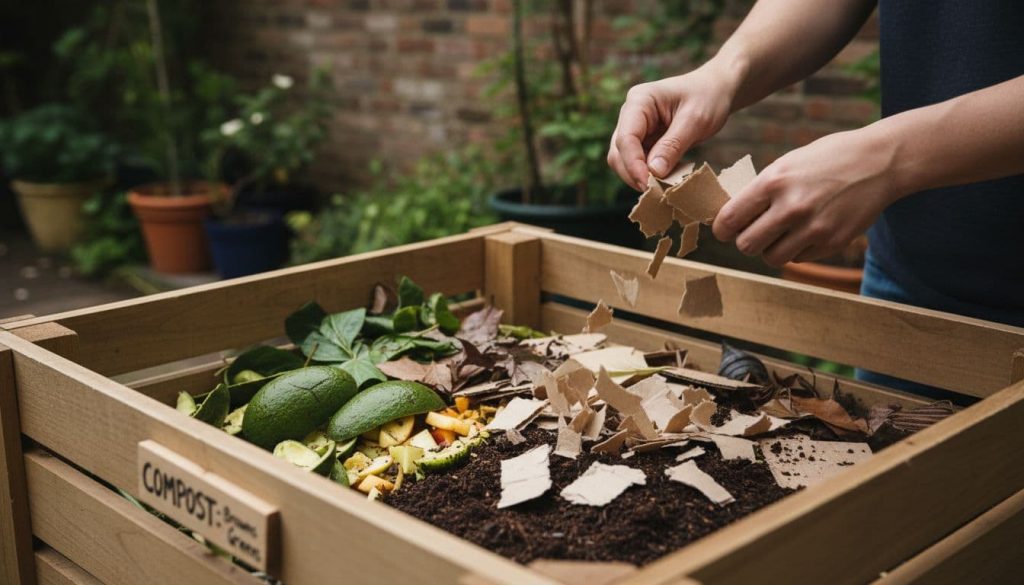
Organic composting turns kitchen scraps and yard waste into a valuable soil amendment.
Over time, adding finished compost improves soil structure, increases water retention, and feeds the soil food web.
Common inputs include fruit and vegetable scraps, coffee grounds, tea bags, eggshells, and small amounts of pet hair.
There is no single universal best composting method. The right choice depends on your goals, patience, available time, and space.
Many methods are low-cost or free, so you can try more than one—combine a worm bin indoors with a wire bin outdoors, for example, to see what works best for you.
Key Takeaways
- Select the best composting method based on your space, time, and goals.
- Composting at home reduces waste and creates nutrient-rich soil amendment.
- Organic composting accepts kitchen scraps like coffee grounds and vegetable peels.
- Start small and experiment—many composting techniques are inexpensive to test.
- Combining methods (vermicompost plus outdoor bin) often gives the best results.
What is the best composting method?
Choosing the right composting method is personal. It should match your goals, space, time, and the types of scraps you have.
Think about whether you want quick results for your garden or a simple way to reduce kitchen waste.
Understanding “best” for your situation
“Best” means different things to different people. If you need to kill weed seeds and pathogens, hot composting is key.
For those in apartments, vermicomposting or closed bins might be better. Large lots can handle open piles or turned windrows.
Key decision factors: goals, space, time, and inputs
Your goals guide your choice. If you need compost fast for your garden, that’s one approach.
If you prefer something easy, low-effort composting is better. Space also matters: backyard composting needs room, while tumblers and bins fit smaller areas.
Time is important for turning and checking your compost. Hot composting needs more attention.
Cold composting is easier but takes longer. What you compost also affects your choice: yard waste goes well with large piles, while kitchen scraps are better for worm bins.
Comparing performance: speed, nutrient output, and maintenance
Composting methods vary in results. Hot composting, like the Berkeley method, can make compost in weeks. This method is good for killing pathogens and weed seeds.
Vermicomposting makes rich worm castings, perfect for small gardens.
Tumblers and closed bins are convenient but might not kill pathogens. They’re good for easy composting in small spaces.
| Method | Speed | Nutrient Output | Maintenance | Best Use |
|---|---|---|---|---|
| Hot turned pile | Fast (weeks to months) | High, stable humus | High (frequent turning, monitoring) | Backyard composting for gardeners needing quick, safe compost |
| Cold heap | Slow (6–12 months) | Good, gradual development | Low (occasional additions) | Low-effort yards with ample space |
| Vermicompost | Moderate (weeks to months) | Very high, concentrated | Moderate (feeding, moisture control) | Apartment-friendly and small gardens |
| Tumbler/Closed bin | Moderate (months) | Good, depends on mix | Moderate (turning by tumbling) | Urban yards and patios with limited space |
Consider the trade-offs. Think about which composting method fits your life. Choose one that matches your goals and inputs for the best composting experience.
Overview of composting basics and the composting process
Composting turns organic waste into a rich soil-like material. It’s all about mixing the right stuff, keeping it moist, and letting air in.
This guide will help you start composting at home or in your community.
What composting is: aerobic vs anaerobic definitions
Aerobic composting needs oxygen. It breaks down food and yard waste into humus without bad smells.
The EPA says good airflow and moisture are key for this process.
Anaerobic composting doesn’t need oxygen. It’s used in sealed systems like bokashi, but it can smell and break down slower.
Knowing the difference helps pick the best method for your needs.
Core ingredients: greens, browns, moisture, and air
Success comes from mixing greens and browns. Greens are food scraps and fresh grass. Browns are dry leaves, straw, and shredded paper.
Aim for a mix that feeds microbes and avoids compaction.
Moisture should be like a wrung-out sponge. Too dry, microbes slow down.
Too wet, air gets pushed out. Turn the pile to keep it oxygen-rich and steady.
How composting benefits soil health, water retention, and plant nutrition
Finished compost feeds the soil food web. It makes soil structure better for roots.
This improves drainage and water retention, cutting down on irrigation.
Compost gives slow-release nutrients and protects soil from toxins. Regular use makes gardens and landscapes healthier.
It also helps manage organic waste locally by keeping it out of landfills.
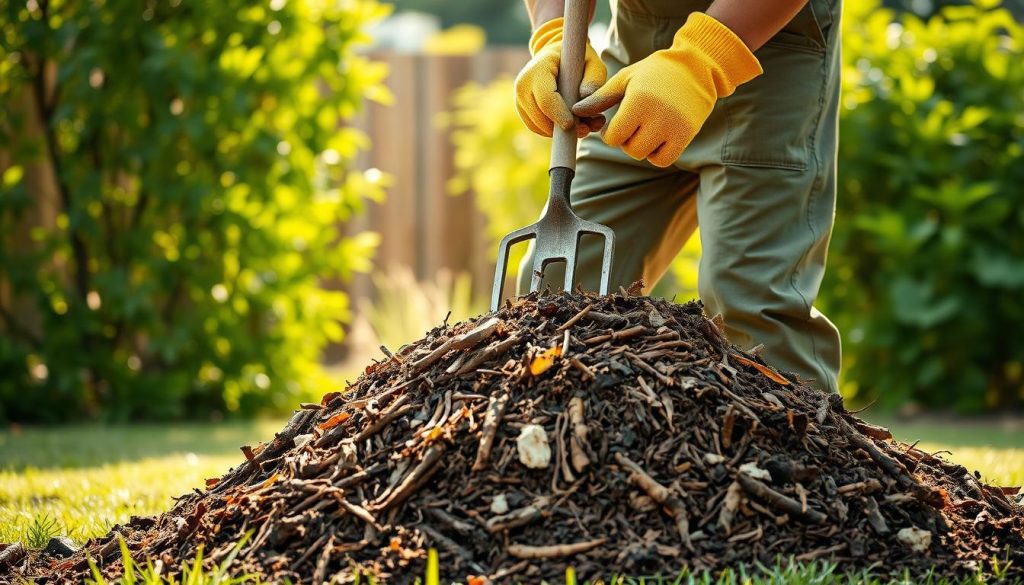
Hot composting: fast breakdown and pathogen control
Hot composting uses heat-loving microbes to speed up decomposition. It’s great for gardeners who want compost quickly, not slowly.
Open bins or loose piles work best because they let in air and make turning easy.
How hot composting works and the required conditions
When greens and browns are mixed right, microbes create heat. You need a balanced mix, moist like a sponge, and air.
These conditions help reach high temperatures that kill pathogens fast.
Materials and pile size guidelines for achieving high temperatures
Use a mix of kitchen scraps, grass clippings, and brown materials like straw. A pile of 3×3 feet is good, but a 4x4x4 feet pile is better.
It keeps the heat steady, which helps kill weed seeds.
Maintenance and turning schedules to keep it hot
Turn the pile to add oxygen and keep the heat even. Hot systems need daily or every-three-day turns.
Slower systems can be turned weekly. Use a probe to check temperatures and adjust moisture to keep it hot.
Pros and cons, including speed, weed seed/pathogen kill, and labor
Hot composting is fast and kills weeds and pathogens well. But it needs more work and space.
It’s a good choice for those who want quick compost, but it’s hard for beginners.
Cold composting and low-effort backyard composting

Cold composting is a simple way to turn kitchen scraps and yard trimmings into soil.
You just add materials and let microbes work their magic. Check on it every few weeks.
This method is great for those who like easy gardening and steady results.
Process and ideal use cases for cold composting
Closed bins or simple piles are perfect for cold composting. They keep things neat, reduce pests, and are great for small yards.
With a closed bin, you can compost at home without taking up too much space.
Begin with layers of greens and browns. Add kitchen scraps, leaves, and grass clippings. Only stir when you see compaction or slow drainage.
This method lets you focus on other garden tasks while composting happens slowly.
Best materials and expectations for timeline (months to a year)
Use a mix of materials like fruit and vegetable peels, coffee grounds, crushed eggshells, dry leaves, and small yard trimmings.
Avoid diseased plants and weed seeds if you won’t reach hot temperatures.
Expect decomposition to take from several months to a year. Smaller pieces and regular layering can speed things up.
For faster compost, try occasional turning or a larger pile around 3x3x3 feet to retain heat better.
When cold composting is the right option for small-space or low-effort gardeners
Choose cold composting if you have limited time or prefer an easy system.
It’s perfect for balconies with small tumblers, suburban yards with closed bins, and busy households.
Cold composting is great for composting at home without hard work. You can pair it with worm bins for quicker results on kitchen scraps.
Or use the finished material as mulch and soil amendment over time.
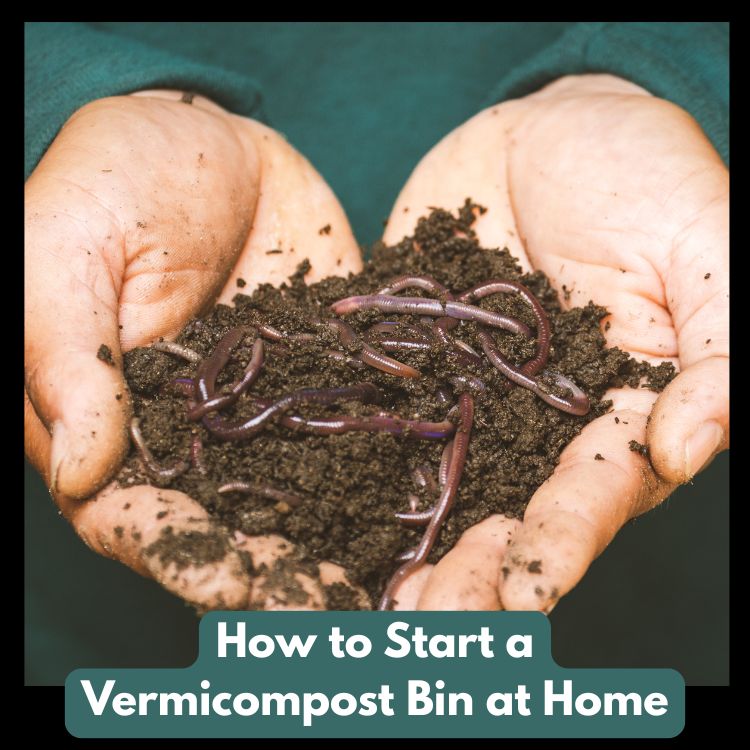
Vermicomposting and composting at home with worms
Vermicomposting turns kitchen scraps into a soil amendment for plants. You can have a small system in an apartment or a big one in a garage.
Red wigglers make rich worm castings that help plants grow and improve soil.
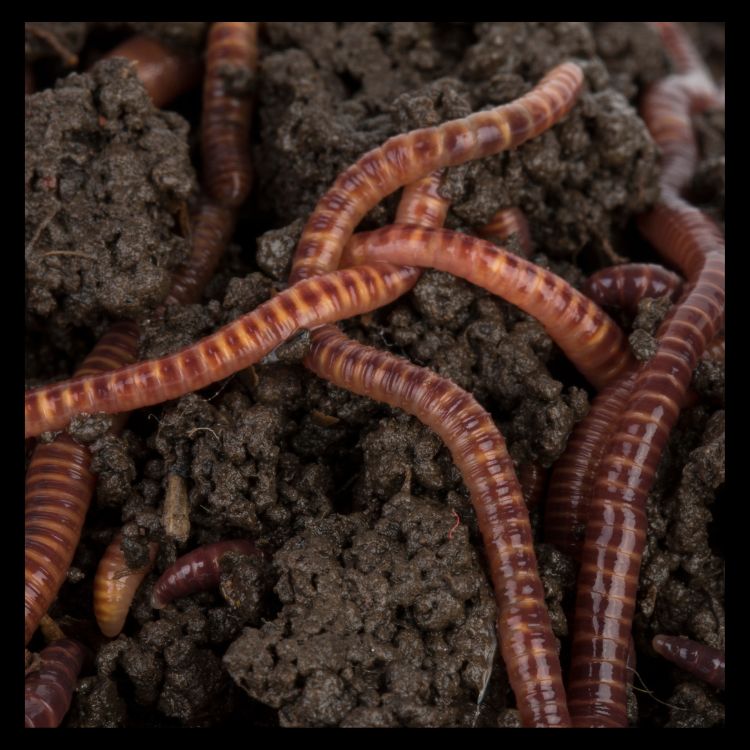
What vermicomposting looks like and which worms to use
Vermicomposting uses worms to break down food waste faster than cold piles. Red wigglers, Eisenia fetida, are best for home use. They handle high feeding rates and small spaces well.
These worms live in the top layer and reproduce quickly in good conditions.
Indoor setups, bin size, and bedding basics
Choose a worm bin that fits your space. A 15-gallon bin fits under a sink for one or two people.
Larger households need 20–50 gallon bins for more space. Stackable trays or plastic tubs also work well.
Bedding should be shredded paper, dead leaves, or straw. Keep it moist, like a wrung-out sponge.
Bury food scraps in the bedding to avoid odors and fruit flies. Don’t overwater; it can drown worms and slow down composting.
Harvesting worm castings and common troubleshooting
To harvest, push finished material to one side and add fresh bedding and food on the other.
Give worms a week or two to move. Then, collect the dark, crumbly worm castings. These castings are full of nutrients and microbes for plants.
Watch moisture and feeding rates to avoid problems. Fruit flies come when scraps are exposed.
Bury new scraps, cut food into small pieces, and feed moderately. Keep bins at 55–75°F to protect worms in cold spaces.
| Item | Typical Size | Best Practice |
|---|---|---|
| Small worm bin | 15 gallons | Place under sink; feed once or twice a week; monitor moisture |
| Medium worm bin | 20–30 gallons | Good for 2–4 people; use layered trays for easy harvesting |
| Large worm bin | 40–50 gallons | Suited for heavy kitchen waste; ensure aeration and temperature control |
| Bedding | N/A | Shredded paper, leaves, or straw; keep damp but not wet |
| Worm species | N/A | Red wigglers (Eisenia fetida) recommended for composting at home |
| Harvest method | N/A | Move finished material aside; add fresh bedding to encourage migration |
Tumblers, bins, and compost bin types for urban composting
Choosing the right container is key for successful composting in cities. Small spaces need solutions that fit your time, budget, and composting plans.
This guide compares common options to help you choose the best for your space and routine.
Closed bins: pros, limitations, and best use cases
Closed bins, often made from recycled plastic, keep yards tidy and block pests.
They are great for small gardens and cost about $50–$250. Many cities offer them at lower prices.
These bins limit airflow and can be hard to turn. Getting the compost out is tricky unless the unit has a removable base.
Closed bins rarely get hot enough for hot composting.
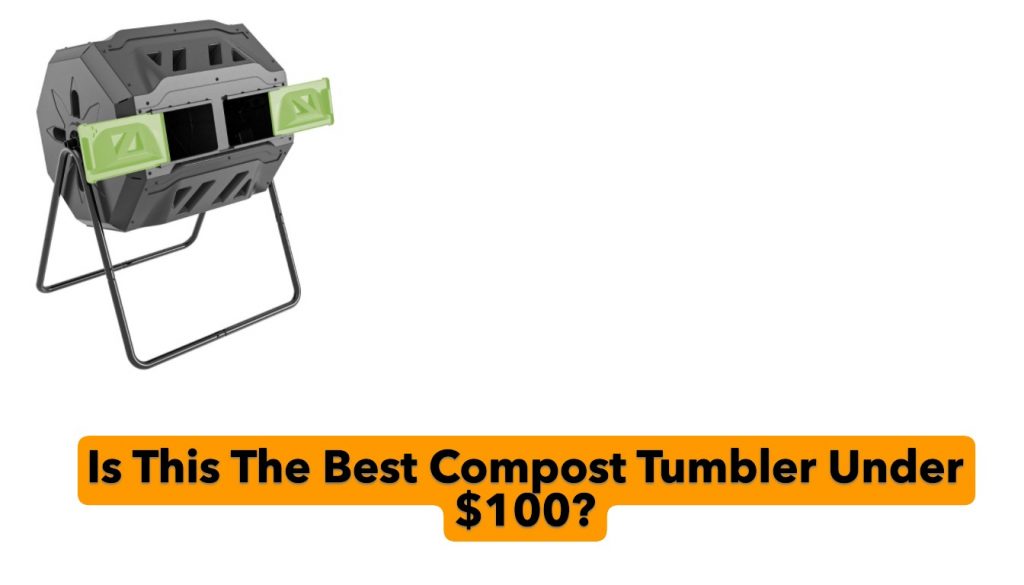
Tumblers and balls: ease of turning, volume limits, and cold-compost suitability
Tumblers and compost balls make turning easy. This helps keep the compost aerobic without needing a pitchfork. Prices range from about $15 to $225.
They have small volumes and are best for cold composting. Add a shovelful of soil to seed microbes since tumblers do not touch the ground.
Wire, cedar, concrete, and upcycled pallet bins:
cost, durability, and harvesting
A simple wire bin is cheap and easy to move. Many gardening guides suggest it for beginners because it encourages airflow and lets you check the pile easily.
Cedar bins cost more but last over ten years. Concrete block bins are durable and can be moved later if needed.
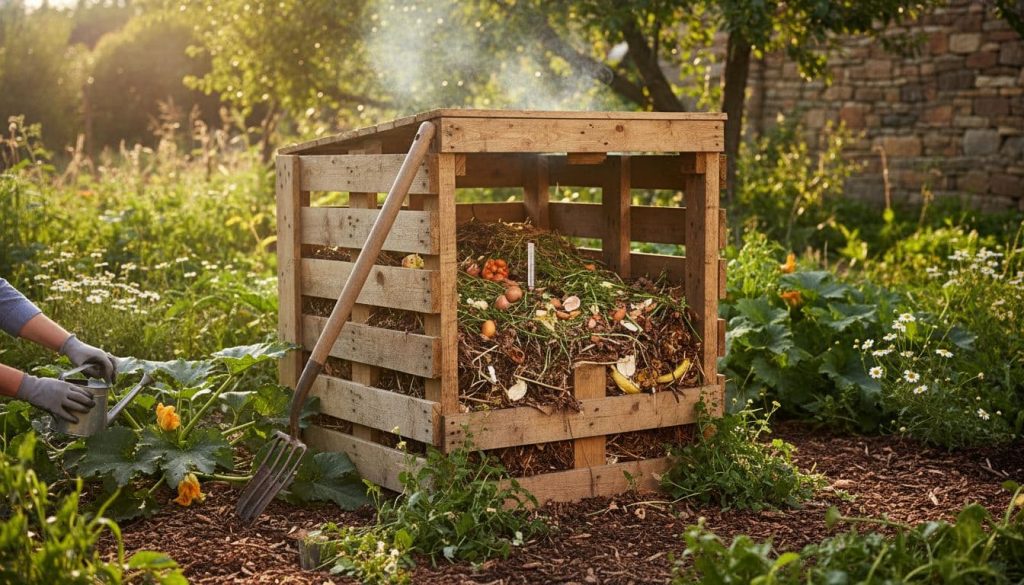
Upcycled pallet systems are low-cost and offer a lot of volume; choose heat-treated (HT) pallets to avoid chemicals.
Open-front or removable-sided designs make harvesting easiest. Closed units and tumblers often require extra effort to extract finished compost.
| Bin Type | Typical Cost | Durability | Best Strength | Harvest Ease |
|---|---|---|---|---|
| Closed plastic bin | $50–$250 | Moderate | Neat appearance, pest barrier | Difficult unless removable base |
| Tumbler/compost ball | $15–$225 | Low to moderate | Easy turning, tidy for patios | Moderate to difficult, small openings |
| Wire bin | $5–$50 | Low | Cheap, portable, good airflow | Easy; open access |
| Cedar bin | $100–$400 | High (10+ years) | Durable, natural wood look | Easy to moderate, depends on design |
| Concrete block | $50–$300 | Very high | Long-lasting, heavy | Easy when designed with front access |
| Upcycled pallet system | $0–$75 | Moderate | Very low cost, large volume | Easy with removable slats or a three-bin layout |
Composting tips: match the bin to your output and energy. If you want speed, choose a design that allows turning and heat retention.
For low-effort recycling, a wire bin or closed plastic unit works well. If you want to harvest often, favor open or removable-front bins.
When picking among compost bin types, weigh cost, space, and the level of hands-on maintenance you prefer.
This will lead to better results and less frustration in urban composting.
Alternative and specialized composting techniques
Many gardeners and cities use special methods when regular bins don’t work.
These methods handle certain types of waste, save space, or speed up the composting process.
You can choose one that fits your schedule, how much you mind odors, and what you plan to use it for.
Bokashi uses anaerobic fermentation with special bran to “pickle” kitchen scraps.
It’s great for indoor use because it keeps pests away. The result is acidic waste that you can mix into soil or add to an active pile to finish breaking down.
Leaf mold is perfect for lots of fallen leaves. Shred them, add moisture, and pile them loosely.
After months, you get a dark, crumbly material that’s great for mulch and improving soil.
It’s more about improving soil structure than adding nutrients, so it helps with water retention and soil tilth.
Trench composting buries kitchen scraps or yard waste in holes or trenches. It’s out of sight and reduces hauling. It takes six to twelve months for the buried material to stabilize.
This method is good for those who want to build soil without the hassle of harvesting finished compost.
Sheet mulch places organic layers where you plan to plant. It controls weeds and builds soil in place.
Use a mix of browns and greens, then let microbes and worms work on it over time. This method combines landscape design with soil care.
Black soldier flies quickly process food waste. Their larvae eat a lot of scraps and leave behind frass, a valuable fertilizer.
You can use the larvae as high-protein feed for chickens or fish. Systems range from small bins to large units for farms, but they need careful management to keep conditions right.
Community composting offers options beyond backyard composting. Municipal green-waste programs, private pickup services like Compost Now, and community gardens accept food and yard waste.
These alternatives are good for those without space or who prefer a shared solution tied to local composting networks.
- Bokashi: indoor pre-treatment for tricky food waste
- Leaf mold: slow, low-nutrient conditioner for leaves
- Trench composting: discreet, low-effort soil building
- Sheet mulch: in-place soil improvement and weed suppression
- Black soldier flies: rapid waste reduction and feed production
- Community composting: municipal or private collection and drop-off
Choosing between aerobic composting and anaerobic options

Choosing the right composting method depends on how you manage air and moisture. Aerobic composting uses oxygen to speed up decomposition and reduce odors.
Anaerobic composting, on the other hand, works without air and is better for tight spaces.
Benefits of aerobic composting: odor control, speed, and soil biology
Aerobic systems keep a fresh smell by being loose and moist. Good airflow helps heat build, speeding up decomposition and killing weeds and pathogens.
Compost from aerobic systems supports a wide range of soil life. It’s home to earthworms, beneficial bacteria, and fungi.
These organisms improve soil structure, nutrient cycling, and water retention.
When anaerobic methods (like bokashi) are useful and their outputs
Anaerobic composting is great for indoor kitchens and small spaces. Bokashi fermentation handles food waste that regular composting can’t.
It ferments waste quickly and keeps pests away.
Bokashi fermentation produces a pre-compost product. You need to bury it in soil or mix it with aerobic compost for full breakdown.
The result enriches soil but may not create the same microbial communities as aerobic composting.

How to avoid anaerobic problems in aerobic systems (compaction, excess moisture)
To prevent wet, smelly spots, mix materials well. Add bulky materials like wood chips and straw to keep air channels open.
Regularly turn piles or tumble bins to break up compacted layers.
Check moisture by squeezing a handful of material. It should feel like a damp sponge, not drip water.
If it’s too wet, add dry materials or let it dry a bit. If you see insects or slow breakdown, add finished compost or garden soil to introduce diverse microbes.
| Factor | Aerobic composting | Anaerobic methods (bokashi) |
|---|---|---|
| Best use | Garden beds, yard waste, high-volume systems | Small kitchens, indoor waste, food scraps, including meat |
| Speed | Fast when hot; weeks to months | Fast fermentation requires further processing |
| Odor risk | Low with proper airflow and moisture | Low in sealed bin; can smell if seals fail or not drained |
| Soil biology | Builds robust microbial communities | Produces nutrient-rich input; less long-term biology unless combined with aerobic compost |
| Maintenance | Turning, moisture checks, layering | Pressing, draining, then burying or mixing with aerobic compost |
Match your composting method to your needs. For large-scale fertility, choose aerobic composting.
For indoor convenience, use bokashi fermentation. Combine methods for both speed and microbial richness.
Practical composting tips for success and compost pile maintenance
Good composting starts with simple habits. Use clear mix ratios and layering to ensure even breakdown.
Regular maintenance keeps odors, pests, and slow decomposition away.
Mix ratios, layering strategies, and how to balance greens and browns
Strive for a 30:1 carbon-to-nitrogen ratio. A good rule is three parts browns to one part greens by volume.
This keeps microbes happy and reduces smells.
Layer in 3–6 inch lifts. Start with coarse browns like twigs for airflow. Then add a mix of greens and finer browns. Repeat until the bin or pile is full.
If a pile smells sour or looks slimy, add more dry browns.
If it sits dry and slow, add greens like kitchen scraps or grass clippings and water lightly.
Turning frequency, moisture checks, and temperature monitoring
Turn hot piles every 3–7 days to keep oxygen high and heat evenly distributed.
Cold piles need far less turning; once a month is usually enough.
Check moisture often. Your compost should feel like a wrung-out sponge. Squeeze a handful; one or two droplets is ideal.
If it drips, add browns. If it crumbles, add water and greens.
Use a simple compost thermometer for hot systems. Aim for 130–160°F for rapid decomposition and pathogen control.
When temperatures fall, turn the pile to reintroduce oxygen and restart heating.
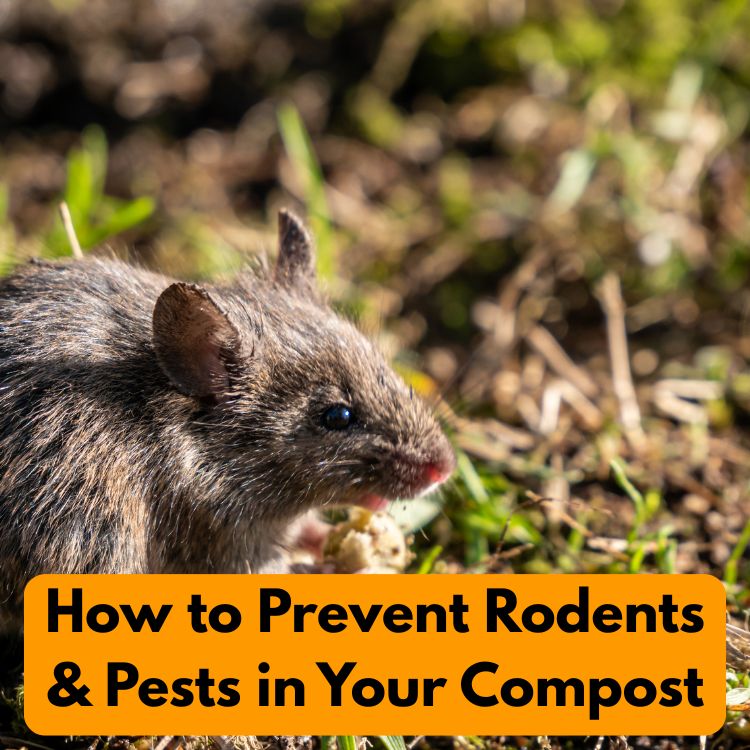
Pest management, what not to compost, and winter strategies
Bury food scraps at least 6–12 inches deep or use a closed, pest-proof bin when you compost meat or fatty foods.
Avoid adding dairy, bones, or oily leftovers to open piles unless you use trench burial or Bokashi pretreatment.
For pest management, choose bins with tight lids and mouse-proof bottoms if rodents are common.
In worm bins, bury scraps and keep a dry cover of shredded paper to deter fruit flies.
Winter slows decomposition. Insulate piles with straw or a tarp and keep adding layers. For vermicomposting in cold climates, move bins indoors or to an unheated garage to protect red wigglers from freezing.
Follow these composting tips and routine maintenance steps for steady results.
Small, consistent actions make composting reliable and low-stress for gardeners of every level.
Cost, space, and time considerations to determine the best composting options
When picking a composting method, think about your budget, space, and time. Small decisions can make a big difference.
This guide compares costs, space needs, and time for common methods to help you choose.
Comparing cost ranges: DIY bins, tumblers, and commercial units
Composting costs vary a lot. The EPA says closed plastic bins cost $50–$250, and tumblers $15–$225.
Open systems start at $25, while three-bin systems can cost $500–$2,000.
DIY methods like piling or trenching are free but need hard work.
Branded options like OXO and Envirocycle cost more but offer warranties. Stainless steel or cedar systems last longer but are pricier upfront.
Space requirements: apartment-friendly to large-lot solutions
Space affects your composting choice. Apartment dwellers can use vermicomposting, bokashi, or compact tumblers.
Many cities offer community composting to save space.
Big lots can handle open piles, three-bin systems, and chicken-assisted composting. Closed tumblers and small bins limit volume.
Choose a size that matches your organic waste output.
Time investment vs. output:
fastest methods and lowest-maintenance choices
Time affects speed and quality. Hot composting, like the Berkeley Method, is fast but needs constant attention.
It requires turning and monitoring moisture and temperature.
Vermicomposting produces rich castings with daily checks. Cold composting, trench composting, and sheet mulch need little upkeep but take longer.
Choose based on your time commitment. For quick results, pick active hot systems or tumblers.
For less effort, go for cold piles, pit methods, or join a municipal program.
Conclusion
Choosing the best composting method depends on your goals, time, and space. Hot composting is fast and kills pathogens.
Cold composting and tumblers are good for easy yards. Vermicomposting is great for indoor use.
The U.S. EPA says many methods are supported locally. Composters rarely have too much because materials shrink.
This makes compost a rich food for plants, improving soil health and reducing watering needs.
Start with simple composting guidance: try one method, observe results, and adjust. You can mix approaches—worm bins inside, a wire bin outside, sheet mulch in beds, or municipal pickup.
Taking action reveals the best composting method for your yard and helps you build healthier soil over time.