
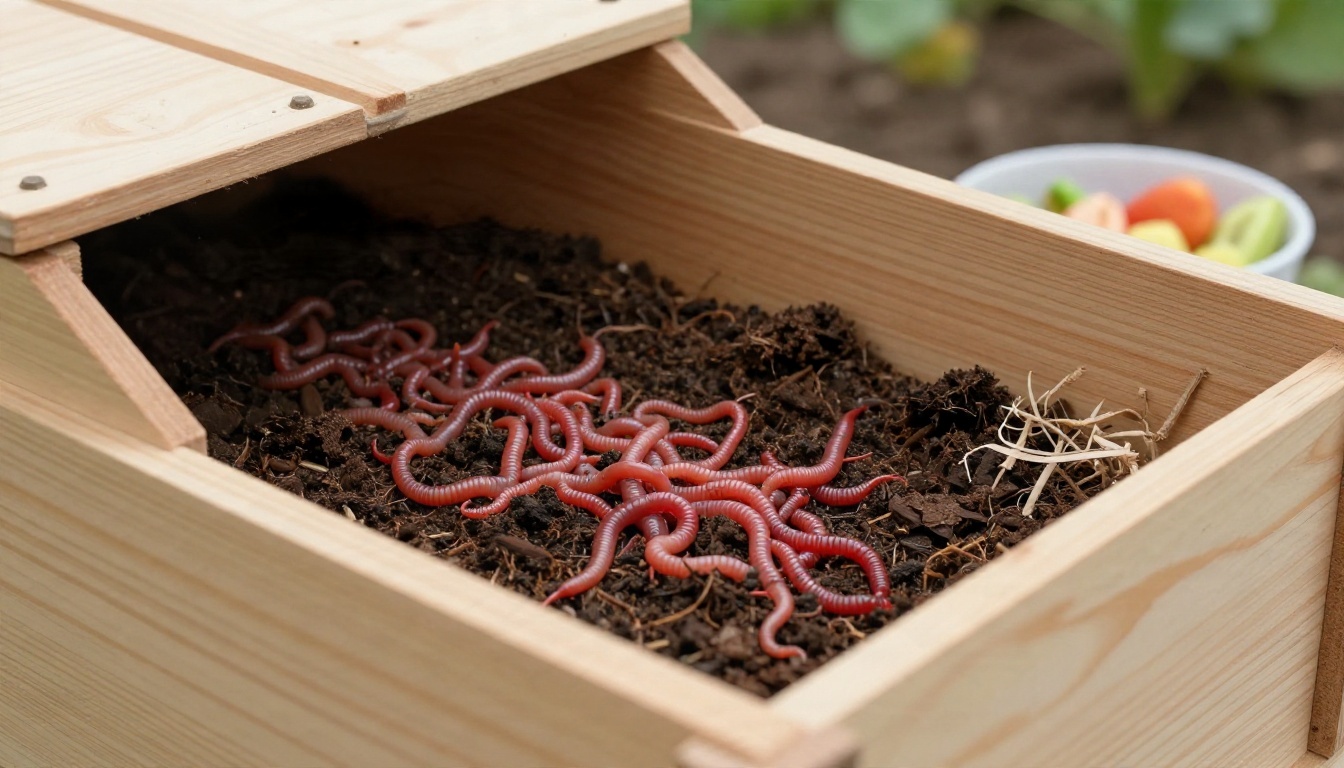
Red wiggler composting uses red wiggler worms to turn food scraps and bedding into nutrient-rich castings, a useful addition to soil. Composting is the natural breakdown of organic materials into something you can use to support healthy plants.
A worm bin lets you recycle suitable kitchen scraps without needing a backyard or large compost pile. It also keeps organic waste out of the trash and reduces landfill waste, two benefits of composting identified by the US Environmental Protection Agency.
Start with a comfortable bin and modest meals, then build your routine around what the worms finish.
Key Takeaways
- Red wigglers turn suitable food scraps and damp bedding into castings that can improve garden soil and potting mixes.
- A ventilated bin in a shaded, sheltered spot makes worm composting practical, even when outdoor space is limited.
- Start with small portions of fruit and vegetable scraps, then cover each feeding with bedding.
- Avoid meat, dairy, oily foods, and large amounts of citrus, which can cause problems in a small bin.
- Harvest dark, crumbly material by encouraging worms toward fresh bedding and food on the other side.
How Red Wiggler Composting Turns Food Scraps into Fertile Castings
Red wigglers, commonly sold as Eisenia fetida, live and feed near the surface of decomposing organic material. This makes them well suited to a contained bin with loose bedding and regular additions of suitable scraps.
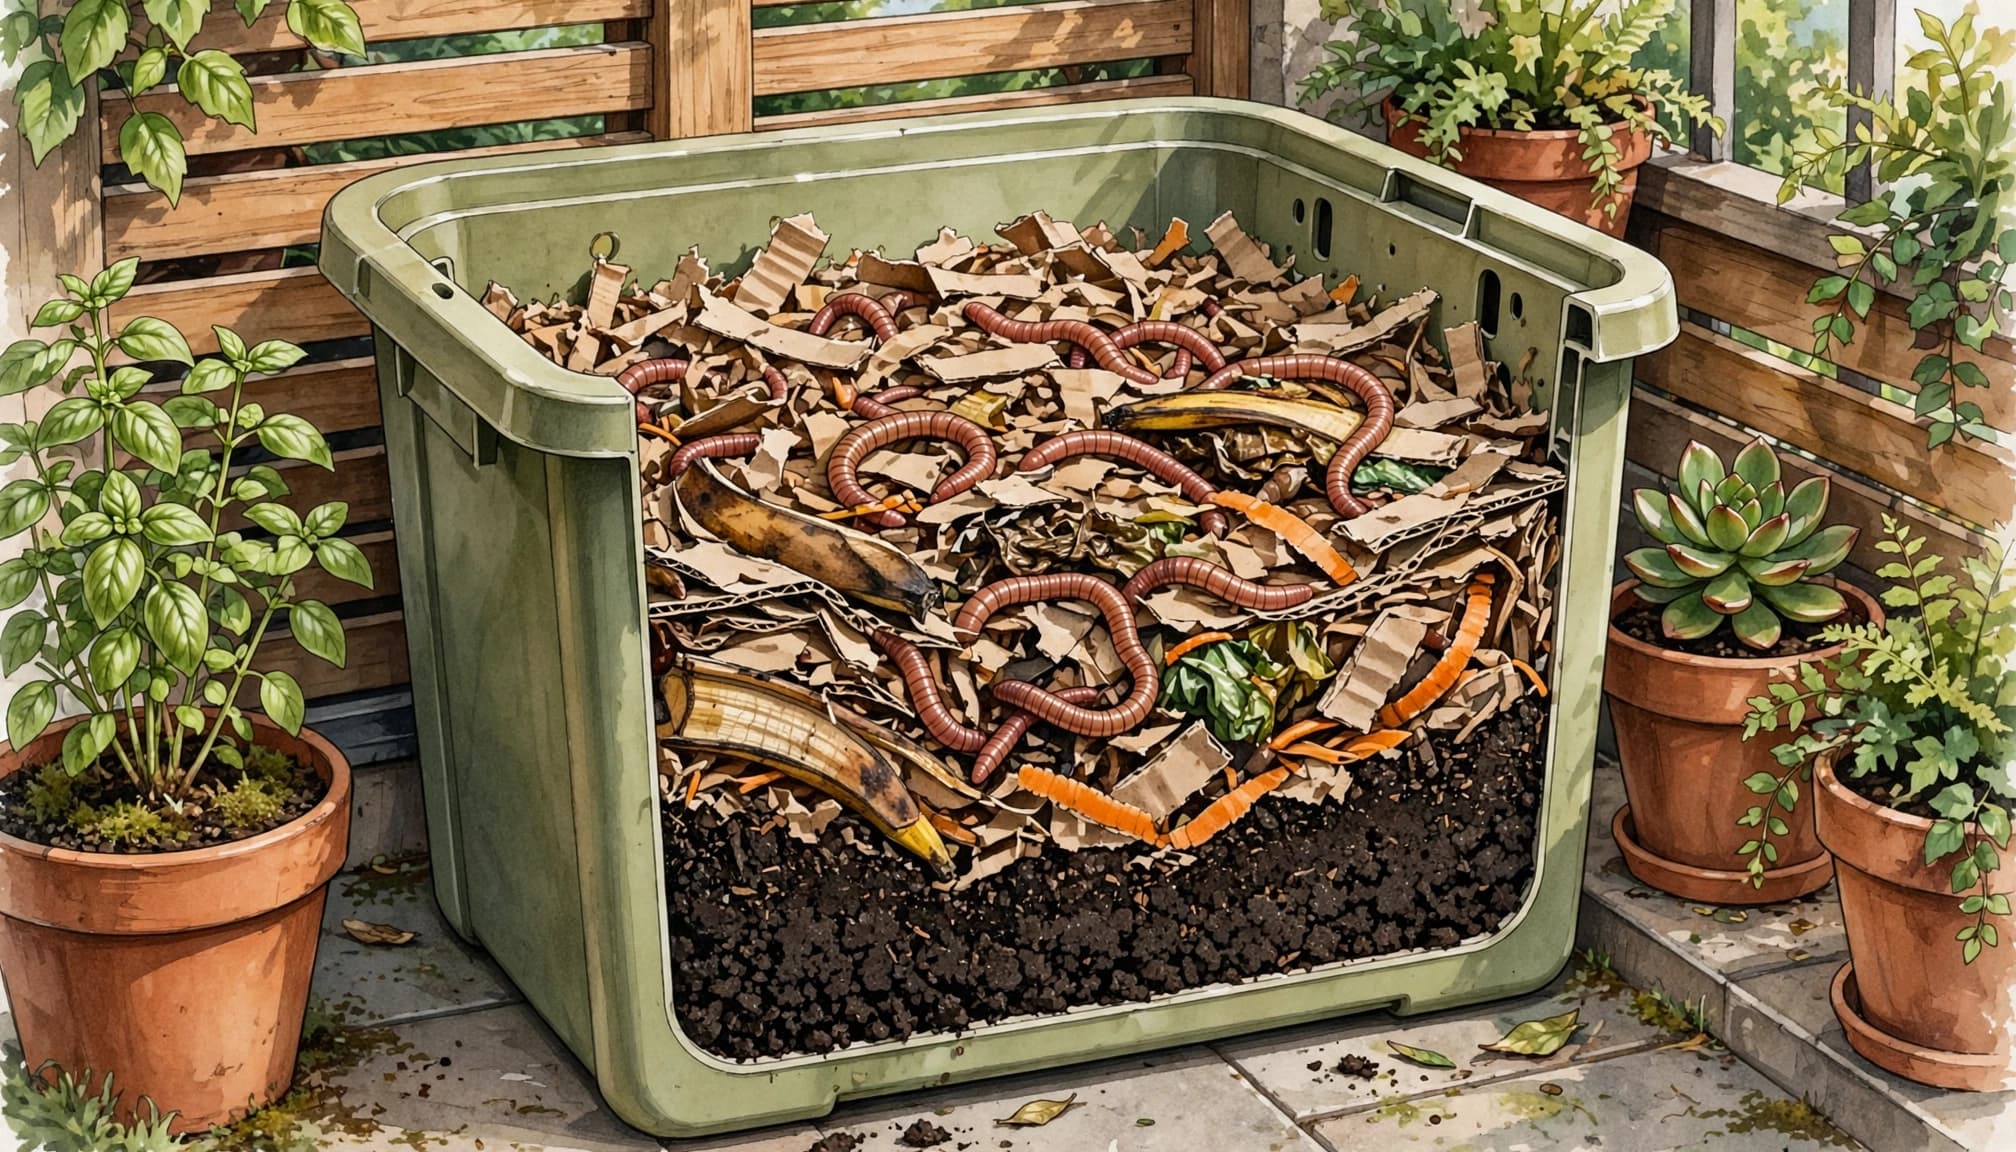
The process is called vermicomposting, which simply means composting with worms. Tiny organisms help soften and break down the food, while worms consume decomposing material and leave castings behind.
Worms also produce small cocoons, from which young worms emerge when conditions are suitable.
Those castings gradually mix with broken-down bedding. The finished material, called worm compost, looks much more like crumbly soil than yesterday’s banana peel.
Oregon State University Extension describes how worm castings support soil health, including better soil structure and plant vigor.
Castings are useful because they return organic material and nutrients to the soil.
However, the bin needs more than food. Bedding gives worms a moist place to live and provides material that breaks down alongside kitchen scraps. You’ll replenish it as the original bedding disappears.
Vermicomposting is one home composting option, alongside garden bins and compost tumblers. A compact worm bin is especially handy when your main goal is recycling small amounts of kitchen waste.
You don’t need to process every scrap your household produces. Starting with a manageable share gives you room to learn without overwhelming the bin.
Set Up a Worm Bin Your Household Can Manage
Choose a compost bin that fits your available space and the scraps you expect to feed it. Household size alone doesn’t tell the whole story, because cooking habits vary.
An opaque container with a lid can work, provided it has ventilation and drainage. A drainable compost bin needs a catch tray to protect the surface below.
Our guide to building a home vermicomposting system covers the basic parts of a home system. Some people call this kind of setup a worm farm. You can also use Oregon State University Extension’s composting with worms guide for additional background.
Follow this simple setup sequence:
- Choose a shaded, sheltered location with a steady, moderate temperature. Keep the bin away from direct sun and freezing wind.
- Tear plain cardboard, shredded newspaper, or uncoated paper into loose pieces. Remove plastic tape and other material that won’t break down.
- Dampen the worm bedding until it feels like a wrung-out sponge, then fluff it so air can move through it.
- Add your red wigglers to the prepared bedding. Begin with a small amount of suitable food rather than a large collection of scraps.
The bedding should stay loose rather than form a packed, soggy mat. Give the worms room to move through it.
Finally, put the bin somewhere convenient to visit. A sheltered balcony or suitable indoor corner can work. Easy access makes feeding and observing the bin part of your routine instead of a forgotten chore.
Feed the Right Scraps Without Overfeeding
Fruit and vegetable trimmings are a good starting point. Apple cores, lettuce leaves, carrot peelings, and small pieces of banana peel all belong on the beginner menu.
Coffee grounds can go in too, but use them as part of a varied diet. Finely crushed eggshells are another suitable addition, although they break down slowly.
Meanwhile, leave meat, dairy products, and greasy leftovers out of a basic home system. Avoid large amounts of citrus, especially while you’re learning how your system responds.
Chop bulky scraps into smaller pieces before feeding. You don’t need perfectly diced worm dinners, but a large chunk takes longer to break down than small trimmings.
Oregon State University Extension’s worm-feeding guidance recommends lightly burying scraps beneath the upper bedding, then covering them. This matches the worms’ habit of feeding near the surface.
Feed according to what’s disappearing, rather than treating a calendar date as a command. If plenty of the previous meal remains, wait before adding more.
Moving new food around the bin also helps you see which areas are active. During each feeding, notice whether scraps are disappearing and whether recognizable bedding remains.
Keep additional scraps out of it when it can’t accept them yet. A small, steady supply is easier to manage than one oversized meal.
Keep Bedding Damp and Scraps Covered
Good upkeep starts with a quick look beneath the bedding. Notice its texture, the remaining food, and whether the worms are active where scraps are breaking down.
Bedding should remain damp like a wrung-out sponge. Worms need that moist environment, but the material should still feel loose enough for air to move through it.
As paper and cardboard disappear, add fresh bedding. This replaces material the worms and other organisms have broken down and gives you a fresh covering for food.
Keep ventilation openings clear, too. Avoid pressing the contents down firmly or packing scraps into a dense layer.
Food buried beneath bedding is less accessible to fruit flies than exposed scraps on the surface.
Fruit flies are a reason to pay closer attention to how thoroughly you cover food. Keep the lid in place and avoid leaving fresh fruit scraps exposed.
A strong, unpleasant smell also calls for a review of feeding and basic bin conditions. Light feeding, damp bedding, and airflow are the foundation of a manageable system.
You don’t need to turn the whole bin during every visit. Instead, disturb only the area needed for feeding and observation.
Over time, these small observations become useful. You’ll recognize how quickly your worms handle different scraps and how often the bedding needs replenishing. Let those changes guide your routine rather than expecting every bin to behave identically.
Harvest Castings and Put Them to Work
Finished vermicompost is dark and crumbly, with much of the original food and bedding no longer recognizable. This nutrient-rich compost may still contain unfinished pieces, so judge it by its condition rather than a promised harvest date.
The finished material collected from the bin is called worm castings, also known as earthworm castings.
A simple method uses the worms’ interest in fresh food. Move finished material toward one side of the bin, then place fresh bedding and food on the other.
As worms move toward the new feeding area, you can collect material from the finished side. Return any worms and larger unfinished pieces you find to the bin.
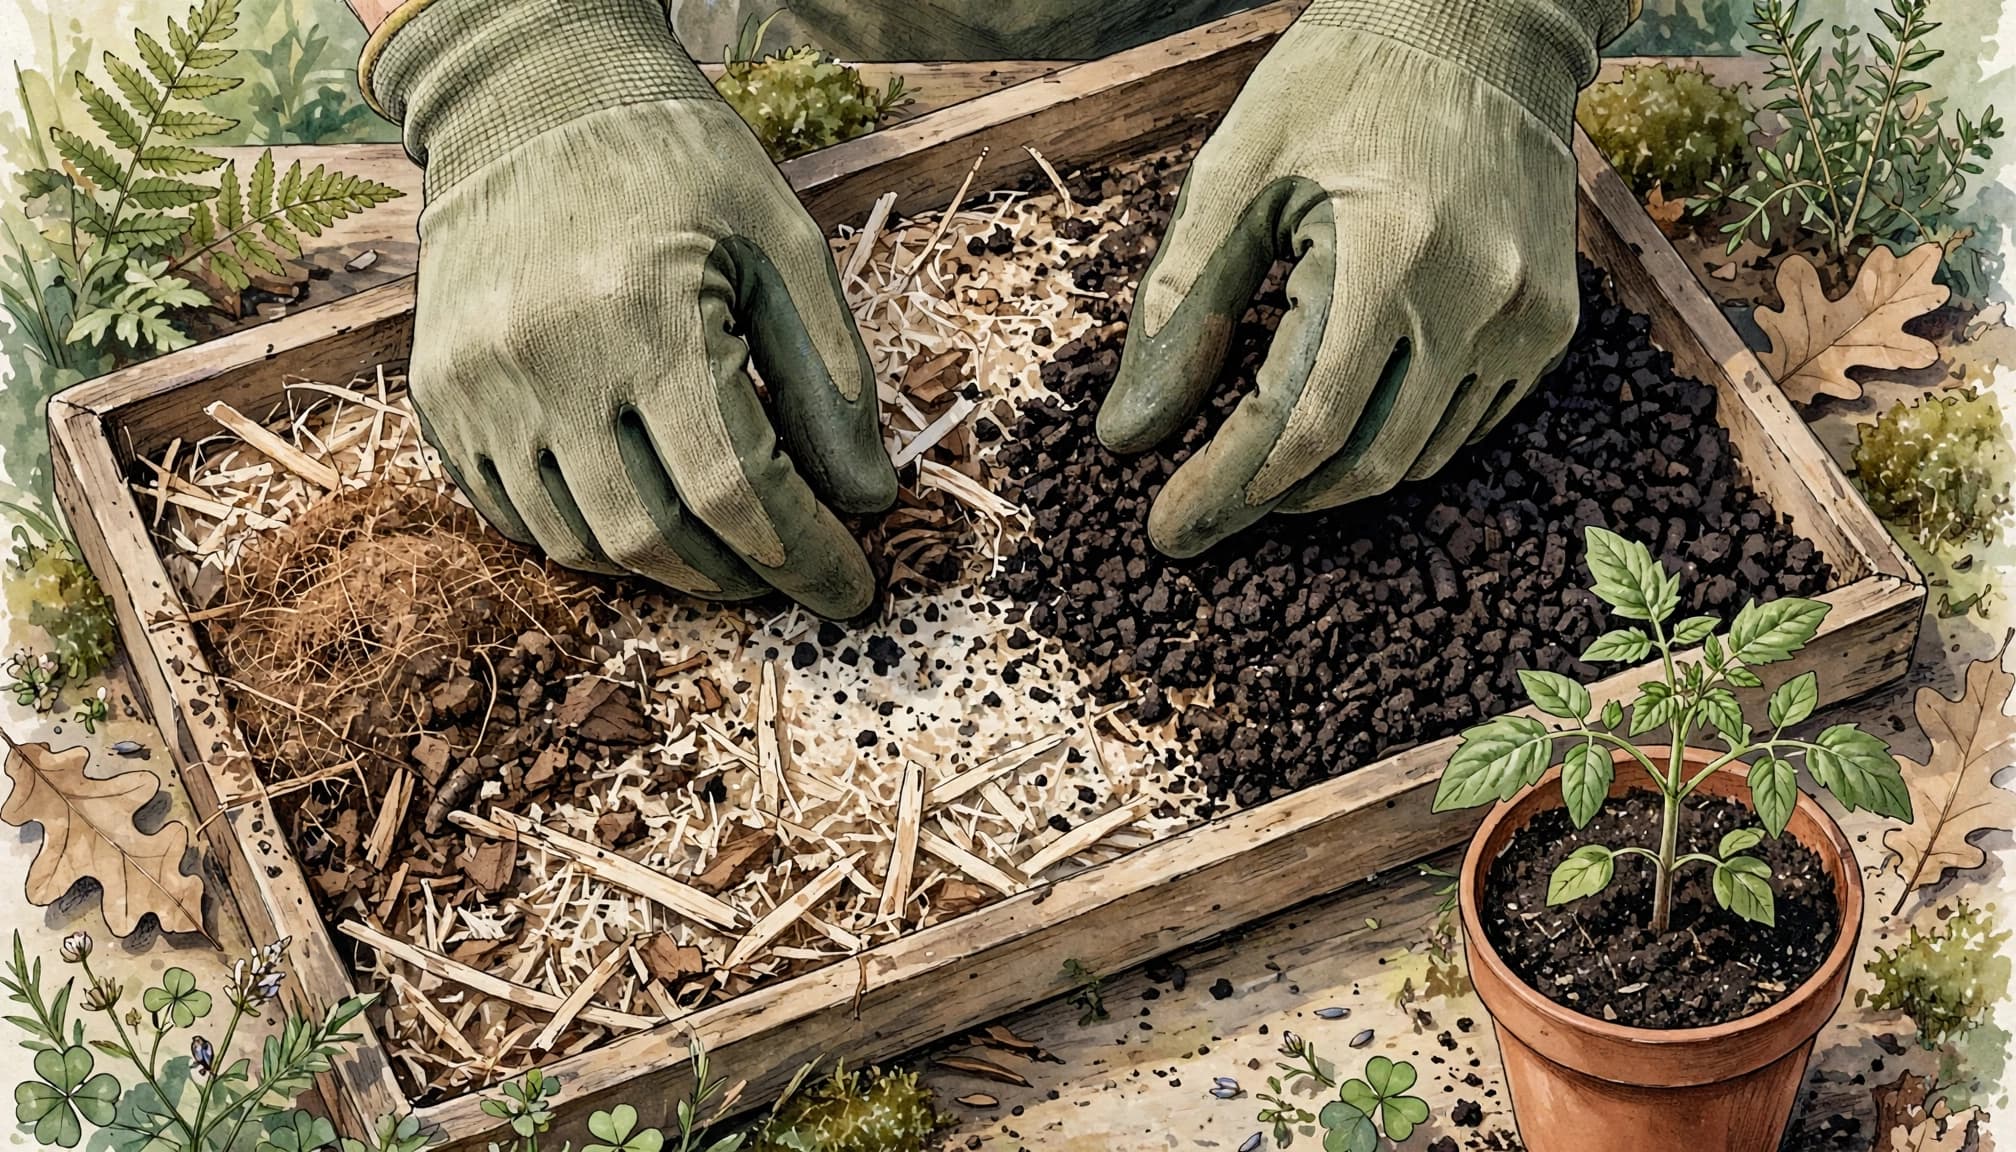
Mix castings into soil or use them as part of a potting mix. They’re a soil amendment, meaning something you add to improve soil, rather than a replacement for everything plants need.
Our guide to using compost to improve soil offers more ideas for putting finished material to work.
The EPA’s home composting guidance explains that compost can help soil conserve water and support plant growth. That gives your kitchen scraps a useful second job.
After harvesting, maintain the fresh bedding and continue modest feedings. You don’t have to empty the entire system or start again whenever you collect finished material.
Frequently Asked Questions
Can compostable packaging go in this setup?
Keep packaging out unless it’s suitable for home worm composting. Some products labelled ‘compostable’ need industrial composting conditions. A compostable label alone doesn’t mean worms can process the item in your bin.
Can I add tea bags?
Loose tea leaves are a straightforward choice. Some tea bags contain plastic, so empty the leaves into the bin when you’re unsure about the bag. Keep tags, strings, and staples out.
Is a little mold on food scraps a problem?
Mold helps break down organic material, so a small amount doesn’t automatically mean the bin has failed. Continue watching how much food remains. If meals keep accumulating, reduce the amount you add.
Can I leave the bin while I’m on vacation?
An established bin doesn’t need a large extra meal before you leave. Worms can continue working through existing material and bedding. Keep the bin in its usual sheltered location rather than moving it into harsh conditions.
Should I release spare red wigglers outdoors?
Keep composting worms contained rather than releasing them into gardens or natural areas. Moving worms can affect local ecosystems. If you have more than you need, another home composter with a prepared bin may welcome them.
Start Small and Let the Bin Find Its Pace
A well-managed system turns suitable kitchen scraps into a useful addition to your soil. Small feedings and comfortable bedding make the process easier to manage.
Begin with the scraps your worms can handle, then adjust as you watch food disappear. You don’t need a large garden or a complicated setup to make red wiggler composting a practical household habit.
Each harvest gives some of yesterday’s food scraps a new place in tomorrow’s growing space.