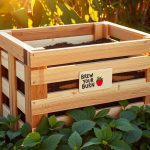
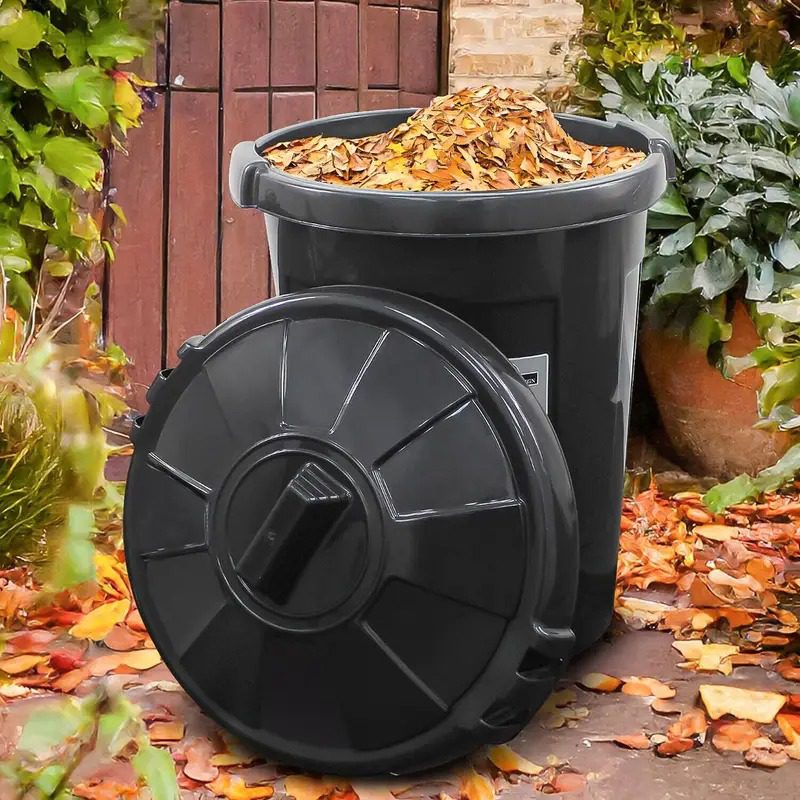
You can make a great outdoor composter from a trash can. Don’t believe me? Read on…
Are you tired of tossing valuable kitchen scraps and yard waste into the trash?
Do you dream of rich, fertile compost to nourish your garden, but the thought of managing a traditional compost pile leaves you feeling overwhelmed?
What if I told you that you could create compost fast, easily, and for next to nothing, using a simple trash can?
“The Millennial Gardener” on YouTube has discovered a way to transform an ordinary trash can into a super-efficient composting machine.
This method is cheap, easy to set up, and solves many common composting problems, like slow decomposition, pesky weeds, and unwanted critters.
Ready to turn your trash into garden gold? Keep reading!
The Problem with Traditional Composting
Traditional compost piles can be a real headache. Decomposition often takes forever, especially in cooler climates.
Before you know it, weeds sprout and take over, turning your compost pile into an eyesore. And let’s not forget the pests!
From annoying insects to hungry rodents, a compost pile can become an open invitation to all sorts of unwanted guests.
I used to struggle with cold composting myself. I’d start with the best intentions, carefully layering greens and browns, only to end up with a weedy, bug-infested mess.
It was frustrating and definitely not the nutrient-rich amendment I was hoping for.
But what if there was an easier way?
Why Choose a Trash Can Composter?
A trash can composter offers some serious advantages over traditional composting methods:
- Speed: The dark color of the trash can absorbs heat, which speeds up decomposition.
- Concealment: The trash can keeps your compost out of sight, so you won’t have an unsightly pile in your yard.
- Weed Control: The enclosed space prevents weeds from growing in your compost.
- Pest Control: A locking lid keeps critters out of your compost.
- Cost-Effective: A trash can composter is much cheaper than commercial composters.
Materials You’ll Need
Here’s what you need to build your own trash can composter:
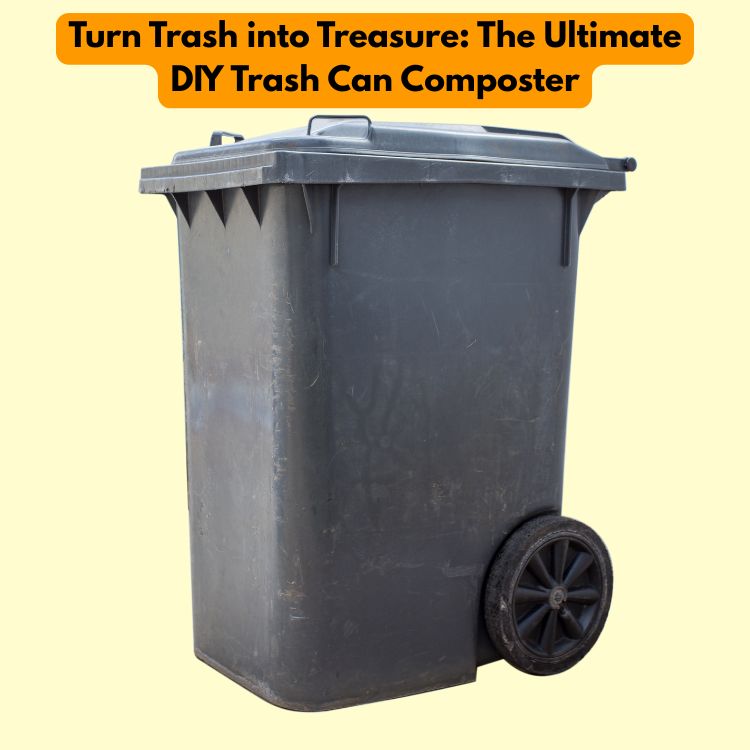
- A 32-gallon trash can with a locking lid.
- A drill with a 2-inch hole saw bit and a smaller pilot drill bit.
- A shovel.
- “Greens” (nitrogen-rich materials like grass clippings and kitchen scraps).
- “Browns” (carbon-rich materials like dry leaves and pine needles).
Step-by-Step Guide: Building Your Trash Can Composter
Ready to get your hands dirty? Here’s how to assemble your trash can composter:
- Prepare the Ground: Choose a level spot near your trash cans. Clear away any grass or debris.
- Sink the Can: Dig a hole large enough to sink the trash can partially into the ground. This will help stabilize it.
- Drill Bottom Holes: Use the 2-inch hole saw to drill several holes in the bottom of the trash can. These holes provide drainage and allow worms and other beneficial insects to enter. Be strategic with the placement of the holes to avoid compromising the structural integrity of the bottom of the can.
- Drill Side Holes: Use the smaller drill bit to drill holes in the sides of the trash can. These holes provide ventilation, which is crucial for aerobic decomposition.
- Backfill: Backfill around the trash can with the soil you removed, which will help keep it in place.
The Science of Composting: Greens vs. Browns
Composting is all about balance. You need the right mix of “greens” (nitrogen-rich materials) and “browns” (carbon-rich materials) for successful decomposition.
- Greens: These materials are high in nitrogen, which fuels the composting process. Examples include grass clippings, kitchen scraps (banana peels, coffee grounds, vegetable scraps), and fresh garden waste.
- Browns: These materials are high in carbon, which provides food for the microorganisms that break down the compost. Examples include dry leaves, pine needles, shredded paper, and cardboard.
A good starting point is a ratio of 2 parts browns to 1 part greens. You can adjust this ratio as needed based on the moisture and decomposition rate of your compost.
What to Compost (and What to Avoid)
Not everything belongs in your compost pile. Here’s a quick guide to what to compost and what to avoid:
Compostable Items:
- Fruit and vegetable scraps
- Coffee grounds and filters
- Tea bags (remove staples)
- Eggshells
- Grass clippings
- Dry leaves
- Shredded paper and cardboard
Items to Avoid:
- Meat and dairy products (attract pests and cause odors)
- Oily foods
- Diseased plants
- Weed seeds
- Pet waste
Loading Your Trash Can Composter
Now it’s time to load up your trash can composter! The layering technique is the best way to go, alternating layers of greens and browns.
Start with a layer of browns at the bottom of the can.
Then add a layer of greens, followed by another layer of browns, and so on.
You can also add some sod or topsoil to introduce beneficial microbes and improve soil structure.
After each layer, use a shovel to mix the materials for even distribution. This will also help break down the organic matter.
The Importance of Moisture in Composting
Moisture is critical for successful composting. The compost should be moist, like a wrung-out sponge. If it’s too dry, the decomposition process will slow down.
If it’s too wet, it can lead to anaerobic conditions and a foul odor.
To maintain optimal moisture levels, water the compost regularly, especially during dry periods. You can also cover the compost with a lid or tarp to retain moisture.
Activating the Compost: Encouraging Decomposition
Want to speed up the composting process? Here are a few tips:
- Chop Materials: Cut larger items into smaller pieces before adding them to the compost. This will increase the surface area and allow the microorganisms to break them down more quickly.
- Turning: Mix the compost regularly to aerate it. This provides oxygen to the microorganisms and helps speed up decomposition.
- Adding Compost Activator: Consider using a commercial compost starter or simply adding a shovel full of existing compost to introduce beneficial microbes.
Troubleshooting Common Composting Problems
Even with the best intentions, composting problems can arise.
Here’s how to troubleshoot some common issues:
- Smelly Compost: This is usually a sign of anaerobic conditions. Add more browns and turn the pile to aerate it.
- Dry Compost: Add water and cover the pile to retain moisture.
- Slow Decomposition: Make sure you have the correct balance of greens and browns and that the compost is moist.
- Pests: Ensure the lid is securely locked.
The First Check-In: What to Expect After a Few Weeks
After a few weeks of adding kitchen scraps and yard waste to your trash can composter, you should start to see signs of decomposition.
The materials will begin to break down, and you may notice some soil life, such as bugs and worms.
Keep monitoring the compost and adding materials as needed. The more you add, the faster you’ll get compost!
The Big Reveal: Results After Two Months
After about two months, you should have some usable compost!
The materials will have broken down significantly, and the compost will be dark brown and crumbly.
“The Millennial Gardener” was amazed at how quickly the materials decomposed, even during cold weather.
The compost was well on its way to becoming some fantastic humus.
Understanding Compost Maturity
How do you know when your compost is ready to use? Here are a few signs:
- Dark brown color.
- Crumbly texture.
- Earthy smell.
- No recognizable food scraps.
How to Use Your Homemade Compost
Now that you have a pile of finished compost, it’s time to put it to use in your garden! Here are some ways to use your compost:
- Soil Amendment: Mix compost into garden beds to improve soil structure and fertility.
- Potting Mix: Add compost to homemade potting mixes for container gardening.
- Top Dressing: Spread compost around plants as a mulch to suppress weeds and retain moisture.
- Compost Tea: Steep compost in water to create a nutrient-rich liquid fertilizer.
Expanding Your Composting System: The Two-Can Method
To have a continuous supply of compost, consider using the two-can method. Use one trash can for active composting, adding new materials as they become available.
Allow the second trash can to sit undisturbed for complete decomposition.
Then, alternate between the two cans to have a steady stream of finished compost.
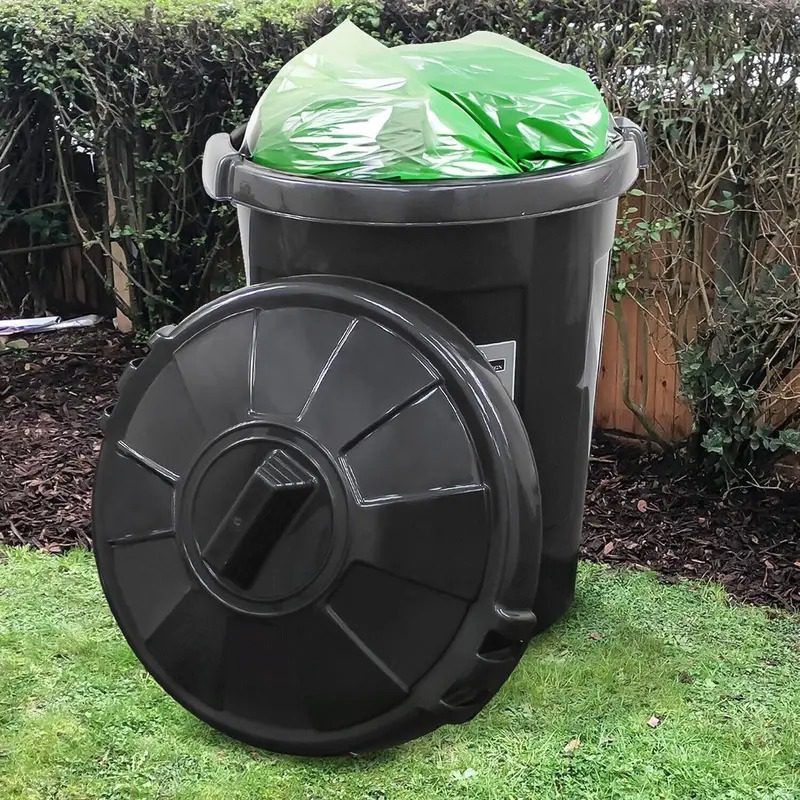
Bio-degradable bags are an excellent way to add your kitchen waste to your outdoor trash can
The Environmental Benefits of Composting
Composting is not just good for your garden; it’s also good for the environment!
Composting reduces landfill waste, reduces the need for chemical fertilizers, improves soil health, and reduces erosion.
By composting, you’re contributing to a more sustainable lifestyle.
Zero-Waste Wizardry: FAQs for Turning a Trash Can into a DIY Composter
How do I turn a regular trash can into a composter?
Drill holes (about 2–3 inches apart) all over a sturdy outdoor trash can—lid, bottom, and sides. This lets air flow and keeps things from smelling funky.
For bonus points, place the can on bricks or stones so air sneaks in underneath.
Add your kitchen scraps, dry leaves, and a little water, then give it a shake or a roll every week to keep things mixing.
Tip: Shopping for a tough trash can with a locking lid? Check out this contender on Amazon: outdoor trash cans.
How much does a trash can composter cost to make?
If you’ve already got a bin, you’re close to free. Otherwise, expect to spend $15–$40 for a new trash can with a tight lid.
You’ll also need a drill and a bit of free time. It’s way cheaper than buying a fancy composter.
What size trash can works best for composting?
Go for 30 to 40 gallons—plenty of room for food scraps, leaves, and a little yard waste. Anything smaller fills up fast.
A classic large plastic trash can with a snap-on lid works great.
Which scraps go into the trash can composter?
Toss in fruit and veggie peels, coffee grounds, eggshells (crushed up), dead leaves, grass clippings (not sprayed), and shredded paper.
Skip meats, dairy, and anything oily—they’ll stink and attract critters.
How do you keep critters and pests out?
A locking lid’s your best pal. Drill holes small—no bigger than half an inch—to let air in but keep rodents out.
Bonus hack: If you’re worried about bugs, tape some metal window screen over the holes inside the can.
Need a critter-proof bin? Peek at locking trash can options here.
How often do I need to mix or turn the compost?
Give it a shake (or roll it on its side) about once per week. This keeps the microbes happy and speeds things up.
If your can’s heavy, use a sturdy stick or shovel inside to mix things up.
How long does it take for compost in a trash can to be ready?
With the right mix and some regular tumbling, you’ll have a batch in around 2–3 months—sometimes even quicker in warm weather.
You’ll know it’s done when it looks dark and crumbly and smells like rich earth.
Does the trash can composter smell bad?
Not if you do it right! Balance green stuff (fruit scraps, coffee grounds) with four times as much brown stuff (dried leaves, cardboard).
Keep it lightly moist, not soggy. Bad smells mean too much “green” or water, or a lid that’s on too tight.
Where’s the best spot to put my trash can composter?
Outside in a sunny spot is perfect. Sun helps speed up composting, and ventilation keeps things fresh.
If you’re worried about critters or weather, tuck your can somewhere sheltered but still breezy.
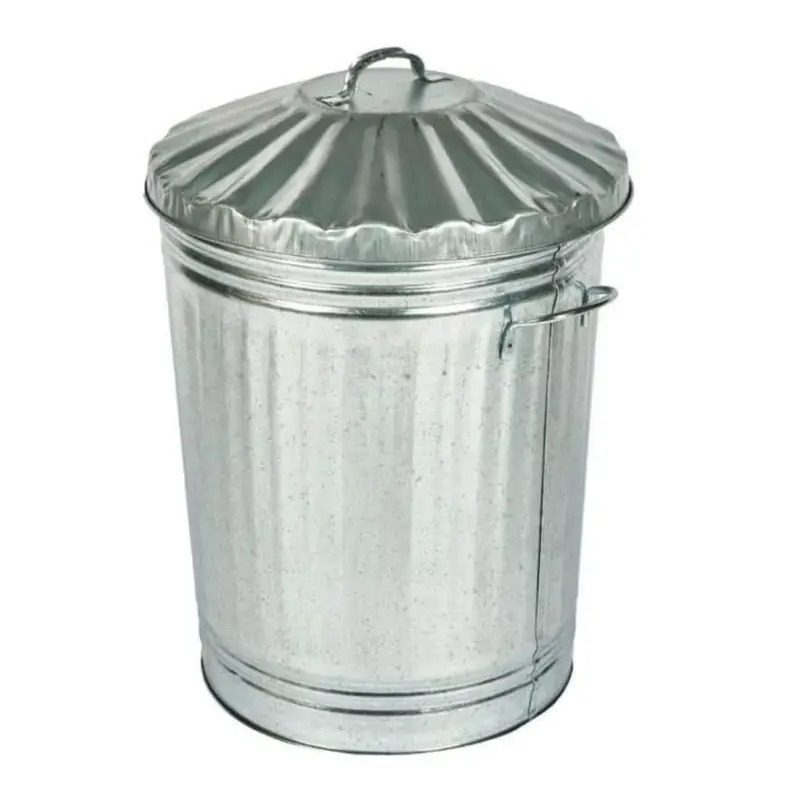
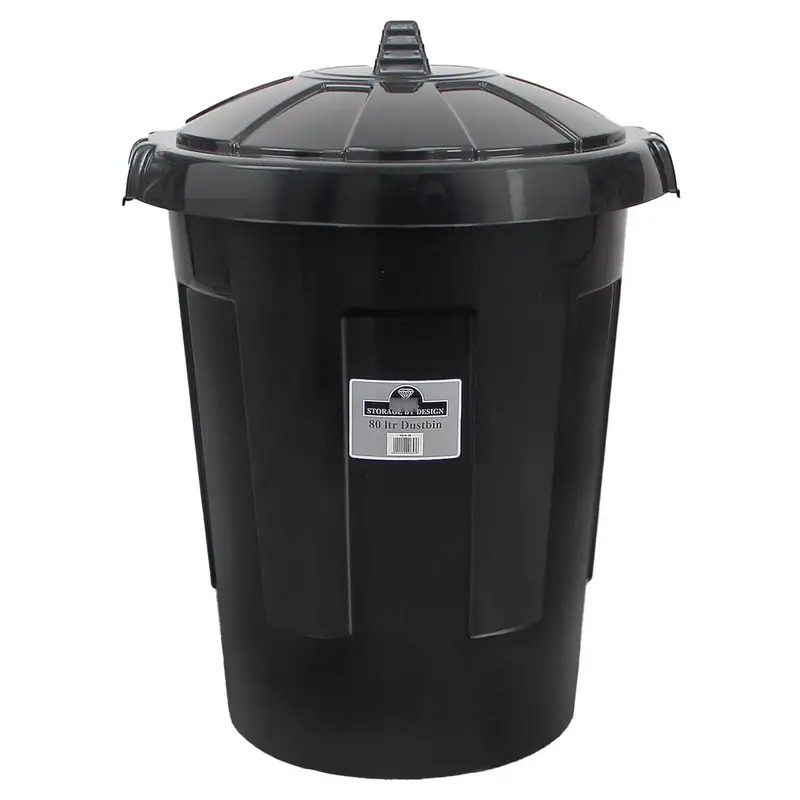
Can you use a metal trash can for composting?
Yes, but watch out for rust—especially in rainy spots.
Plastic cans are lighter and don’t rust. Metal cans can get hot, which can help in cooler climates.
What’s the secret to fast compost in a trash can?
Chop scraps small, keep everything moist (like a wrung-out sponge), and turn the pile often. Aim for a mix of 1 part green to 4 parts brown.
Add a bit of finished compost or garden soil for a microbe boost if you have it around.
How do I drain liquid if the compost gets soggy?
Make sure you drilled holes in the bottom for drainage. Set the can on bricks so water drains out. If it collects at the base, pour it onto plants—it’s compost tea!
Can I use trash bag liners?
Skip ’em—liners break down slowly and may block air flow. Compost loves direct contact with the can for air and moisture movement. Use bio degradable instead.
Should I worry about freezing temps in winter?
Composting slows down when it’s cold, but your pile won’t stop.
Just keep adding scraps and leaves. In spring, things will pick up steam.
Are there any extras to make composting even easier?
Try a PVC pipe with holes down the center of your pile for extra airflow. Or, pick a trash can with wheels for easy rolling.
Once you taste the difference home compost makes in your garden, you’ll never look at your kitchen scraps the same way.
Need a tough, rollable trash can? Shop here for options.
For more details and step-by-step guides, check out The Spruce and Better Homes & Gardens. Now go turn your trash into treasure!
Cost Breakdown: How Much Does This Composter Really Cost?
The best part about this project is how affordable it is. You can build a trash can composter for around $25.
This is much cheaper than buying commercial compost or a fancy compost tumbler.
Plus, you’ll save money on fertilizer and other soil amendments in the long run.
Final Thoughts: A Simple Solution for Gardeners
A trash can composter is a simple, effective, and affordable way to create compost at home. It’s easy to build, easy to use, and solves many common composting problems.
So why not give it a try? Your garden will thank you!
Do you have any composting tips or experiences to share? Leave a comment below! And don’t forget to check out the rest of our site for more composting content.
Now get out there and turn some trash into treasure!