
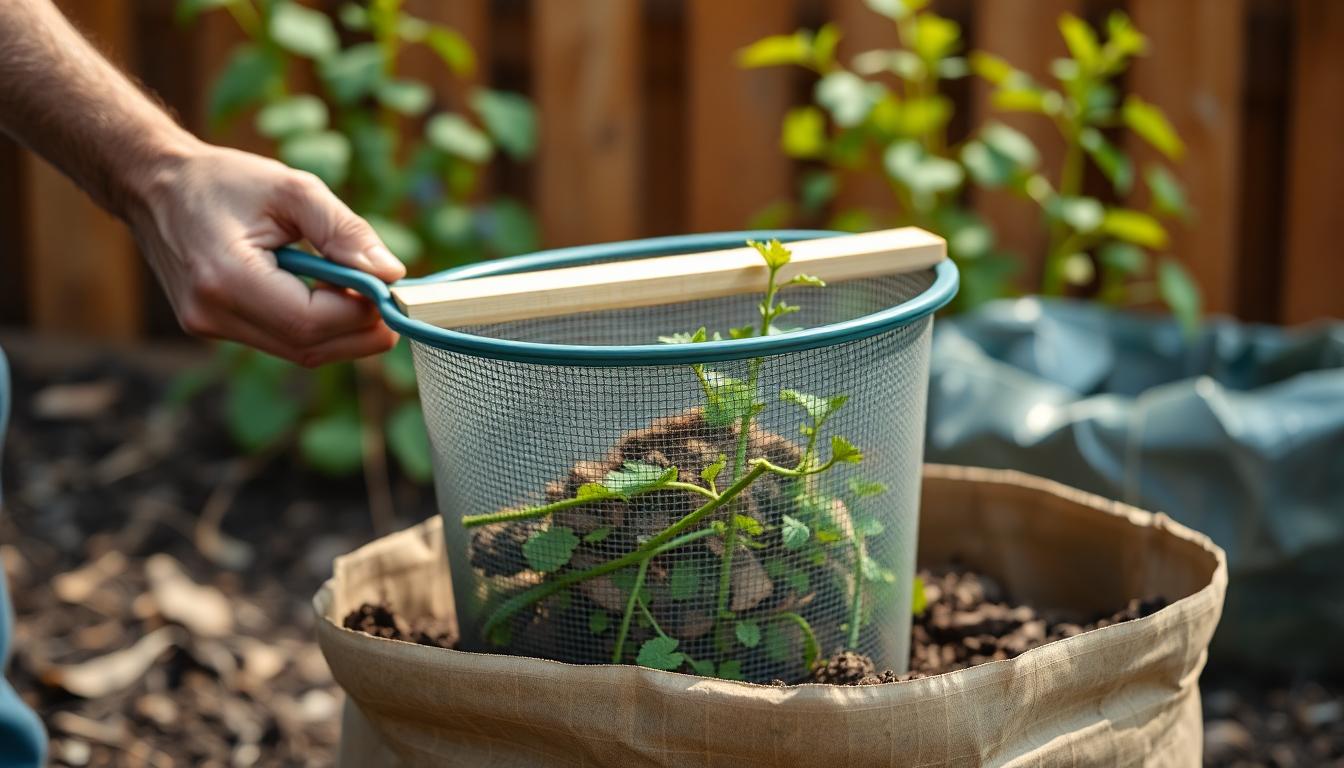
Build Your Own for Smoother Composting at Home
Build your own DIY Compost Sifter with this easy guide. Make backyard composting simple, quick, and mess-free for a tidier garden every season.
Composting at home can turn your kitchen and garden scraps into nutritious soil—it’s a simple way to help the planet right from your own backyard.
Composting means letting natural things like food peels, dry leaves, and even grass clippings break down into compost, which feeds plants and improves soil.
Why does this matter?
It cuts down on waste, saves you money, and gives your garden a healthy boost.
A diy compost sifter helps you get the best results from your compost bin or compost tumbler. This tool lets you separate finished compost from big chunks and twigs, making your soil smooth and easy to use.
Sifters are handy for everyone, from total beginners to vermicomposting fans, because they help your compost look and feel just right for your garden beds or pots.
Getting started with composting, or curious about tools that make it easier?
This guide will show you how a diy compost sifter works and why it matters, whether you’re using a traditional pile, a compost tumbler, or exploring worm bins.
You’ll learn simple steps, helpful tips, and find out how a few basic materials can save you time and effort.
Key takeaways:
- Composting reduces waste and supports healthy soil.
- A diy compost sifter makes compost smoother and easier to use.
- Tools like tumblers and vermicomposting bins work even better with sifted compost.
- Building your own sifter is simple and affordable.
- Along the way, you’ll discover practical ways to recycle at home and live more sustainably.
If you’re wondering about composting solutions for small gardens, you might find these small backyard composting tips helpful as you plan your system: composting solutions for small gardens.
The Composting Journey: From Food Scraps to Rich Soil
Turning apple peels, wilted lettuce, and coffee grounds into rich, crumbly soil feels almost magical.
But what really happens after you dump your kitchen scraps into a compost bin or tumbler? The composting journey is a steady transformation, fueled by time, microbes, and some practical steps you can do at home—even with a diy compost sifter.
Once your compost breaks down into dark, earthy goodness, there’s one last trick to get that smooth, garden-ready texture: sifting.
Let’s break down why and when to sift your compost so it’s absolutely perfect for your plants.
Why Sift Compost?
Imagine you’ve poured your finished compost onto your garden bed. It’s dark and fluffy, but mixed in are big chunks—maybe stubborn twigs or eggshells that didn’t finish breaking down.
This is where a diy compost sifter really shines.
 Photo by Alfo Medeiros
Key reasons to use a compost sifter:
- Smooth Soil for Gardening: Sifting removes chunks and clumps, giving you fine compost that’s perfect for seed starting trays, potting mixes, or spreading over lawns.
- Consistent Texture: Sifted compost is soft and easy for plant roots to grow through. It won’t compete with seeds or seedlings for light and space.
- Better Results: Unfinished bits (like sticks or slow-composting pieces) can rob your plants of nitrogen as they break down. Removing them helps your garden get all the nutrients faster.
- Versatile Uses:
- Topdressing lawns
- Mixing with potting soil
- Mulching around delicate seedlings
- Improving the soil in raised beds
A compost sifter isn’t just for perfectionists. It’s a quick way to level-up your plant care, whether you’re using a basic heap, a compost tumbler, or diving into vermicomposting.
To understand more about the process, you can check out tips for why and how to sift a compost.
When Should You Sift?
Timing makes all the difference when sifting your compost. Start by waiting until your compost is fully “cooked”—meaning it’s dark, crumbly, and smells like earth, not last week’s kitchen scraps.
Best times to sift compost:
- After Full Decomposition: Only sift when most materials are broken down. Finished compost looks like soil and isn’t steaming or hot.
- Spring and Autumn: These are ideal seasons because your compost has had time to mature, and you’ll likely want fresh compost for planting or tucking in beds for winter. Spring also lines up with garden prep—seed trays love fine compost. As highlighted in It’s Spring… and Time to Sift the Compost, starting the season with sifted compost can make your new planting projects smoother and more successful.
- After Each Batch (tumbler/bin): If you use a compost tumbler or sealed bin, sift after each batch is “done” so you only store the unfinished bits for another round.
- Following Your Composting Calendar: Create a simple habit by pairing sifting with seasonal milestones. The Composting Calendar guide is perfect for planning: it gives month-by-month advice so you won’t forget when it’s time to check on your bin.
Handy best practices:
- Sift outdoors on a dry day—wet compost can be heavy and sticky.
- Use a diy compost sifter that’s easy to shake or rotate, making the job faster.
- Save the leftover chunky bits (often called “overs”). Toss them back into your bin or worm composter for another round—they’re not waste, just a little behind in the process!
If you want more seasonal composting tips and reminders for when to sift, take a look at the composting calendar tips on Compost Charm.
Key takeaways for sifting compost:
- Sifting ensures your compost is fine and plant-friendly.
- Only sift fully matured compost for best results.
- Pair sifting with spring or autumn garden prep, or whenever your batch is ready.
- Keep sifting simple—a diy compost sifter and the right timing make a big difference.
- Mix leftover chunky pieces back into your system so nothing goes to waste.
A few small steps at the end of your composting journey can make using your homemade compost even easier and more rewarding.
Making a simple sifter isn’t that hard and you probably have the equipment at home or in your shed already.
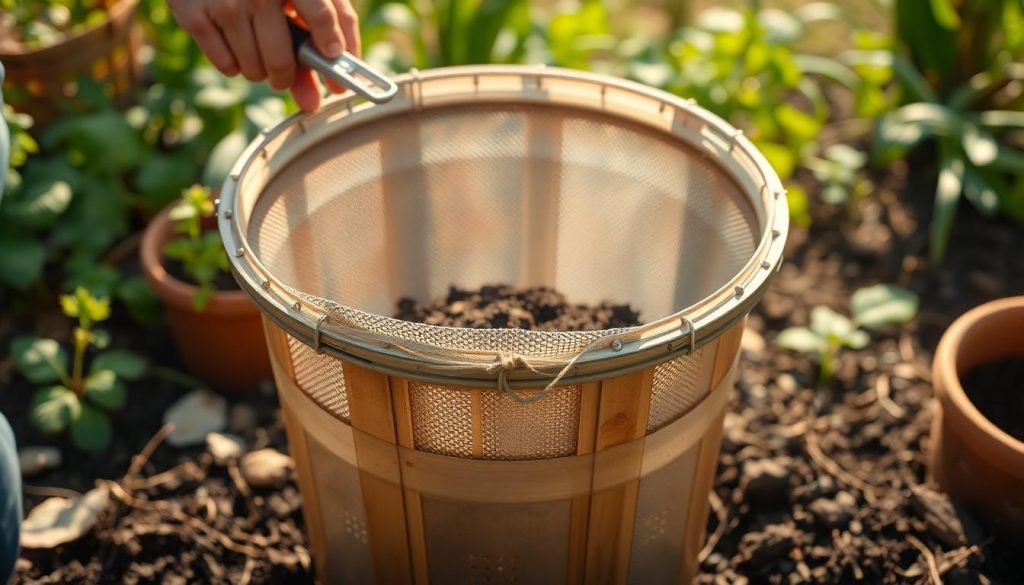
How to Build Your Own DIY Compost Sifter
A diy compost sifter is a simple project that pays off every time you use your compost bin, worm bin, or compost tumbler.
With a handful of affordable tools and a spare afternoon, you can make a sturdy sifter that fits right over a wheelbarrow or garden tub.
Not only does it keep big chunks out of your garden beds, but it also helps you reuse and recycle in creative ways.
Here’s a step-by-step guide—clear, easy, and perfect for anyone who wants to make the most of their composting efforts.
Materials and Tools Needed
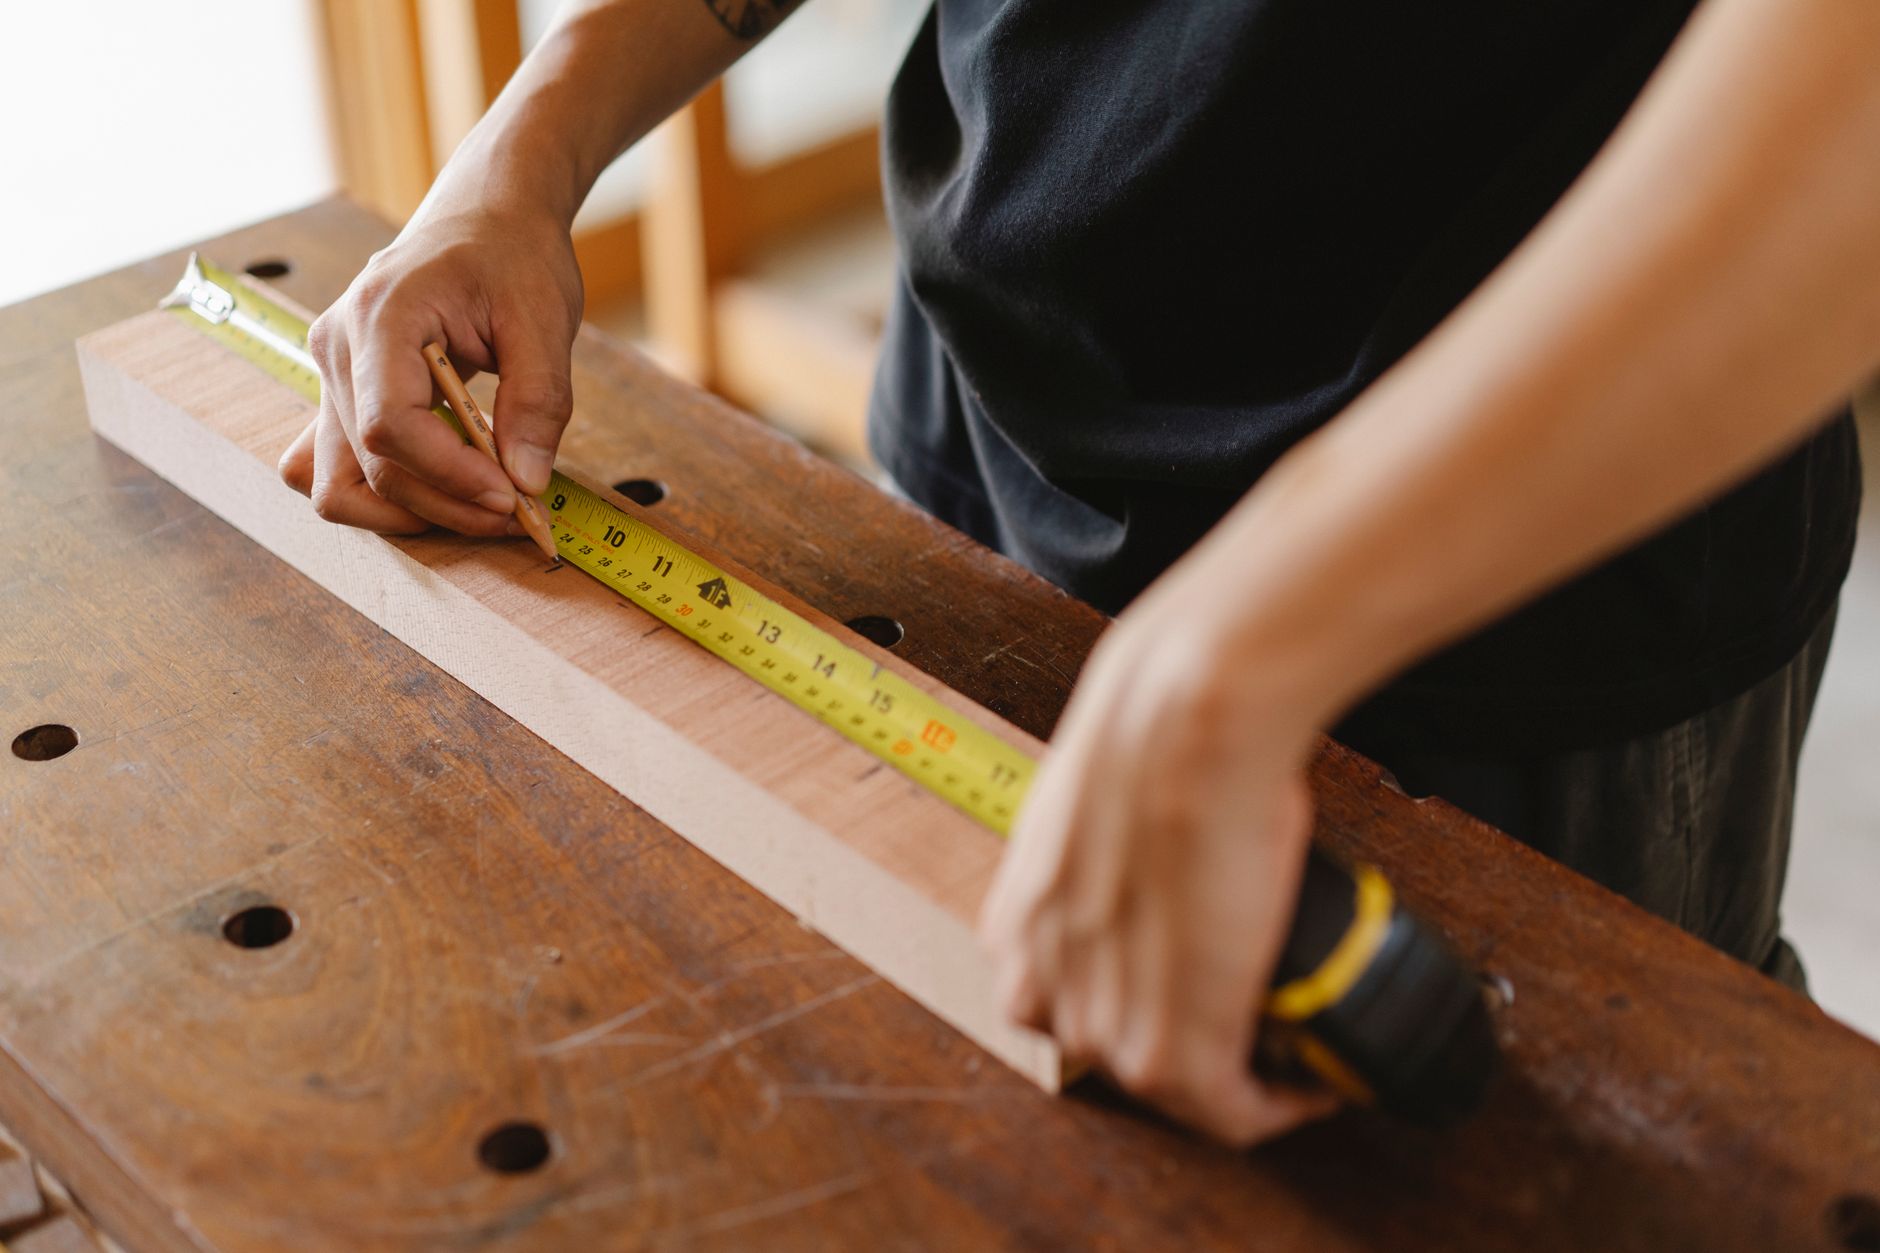 Photo by Ono Kosuki
Before you pick up a drill, gather the basics.
Most items can be found at your local hardware shop, but upcycling is half the fun.
Look around your shed or garage for old frames or scraps. Here’s what you’ll typically need:
- Strong wooden boards (for the frame, about 2.5cm thick)
- Wire mesh or hardware cloth (1/4-inch holes work best)
- Screws or nails (short enough not to poke through the wood)
- Staple gun or heavy-duty tacks (for attaching the mesh)
- Saw (for cutting wood)
- Screwdriver or drill
- Measuring tape, marker/pencil
Upcycling ideas:
- Old picture frames or drawers make sturdy bases.
- Mesh from a broken screen door works well as the sifting surface.
- Reuse scrap lumber from furniture projects.
Not sure if your tools will work? If it’s sturdy and safe, give it a try!
Compost sifting isn’t picky, and every recycled bit you use cuts down on waste.
For specific composting ideas like handling veggie waste or carrot peels, check out advice in the Carrot Composting Guide.
Step-by-Step Construction Guide
Let’s build a diy compost sifter in five easy steps.
You’ll have fine compost for pots, seed trays, and garden beds in no time.
- Measure and cut the wooden boards.
Build a rectangle that will sit comfortably on your wheelbarrow, bucket, or garden cart. A standard size is about 45cm x 60cm, but you can make yours bigger or smaller as needed. - Secure the frame.
Use screws or nails to join the boards at the corners. Reinforce with extra nails if you want a sturdier sifter—remember, compost can be heavy! - Attach the mesh.
Lay the mesh over the frame, pulling it tight. Staple it securely along all edges, making sure there are no gaps. If your hands are sensitive, consider wearing gloves. - Sand rough edges.
Quickly sand any splinters or sharp corners so you won’t scratch your hands while sifting. - Personalize your sifter.
You can add handles from rope, old drawer pulls, or even recycled webbing. Paint or seal the wood for extra durability, especially if your diy compost sifter will stay outdoors.
Safety tips:
- Always cut away from your fingers and use eye protection around flying sawdust or drill bits.
- Wear gloves when working with metal mesh to prevent cuts.
- Make sure your sifter sits securely on top of your wheelbarrow or compost bucket before you use it.
Tips for Sifting Success
A diy compost sifter is as easy to use as it is to build. But every composter runs into a few snags—here’s how to keep things smooth and simple.
- Start dry. Sift only dry or slightly damp compost. Wet, sticky compost clogs the mesh and makes sifting much harder.
- Shake gently. Place a shovel-full on the sifter and shake or tap until the fine compost falls through. A back-and-forth motion works best.
- Use leftovers wisely. Big chunks, like sticks and eggshells that don’t fall through, can go back in the bin or into your vermicomposting setup for another round.
For more on handling specific items (like eggshells), you might find these composting eggshells tips helpful.
Cleaning and storing your sifter:
- Knock out loose bits after each use.
- Give the mesh a quick rinse if it’s clogged, then let it dry in the sun.
- Store your diy compost sifter in a dry spot to avoid wood rot or rust.
Works with all compost systems:
Whether you use a classic pile, a compost tumbler, or a thriving worm bin, a sifter helps you get only the best, most finished compost for your pots and garden beds.
If you’re new to potting or want to learn more about mixing compost with potting soil, you’ll like this guide on using compost for potting soil.
Key takeaways:
- Dry compost sifts best; avoid sifting right after rain.
- Use the sifter with any system—piles, tumblers, or even vermicomposting setups.
- Clean the sifter regularly for long life.
- Return bigger bits to the compost for another round.
A diy compost sifter is a simple, rewarding project, and it’s a fantastic way to get kids and family members involved in the composting process.
The smoother your compost, the healthier—and happier—your plants will be.
FAQs and Troubleshooting: Getting the Most from Your DIY Sifter
Even a well-built diy compost sifter needs a little guidance to work its best. It’s normal to face some hiccups when sifting compost, especially if you’re new to composting or working with lots of kitchen and garden scraps.
In this section, you’ll find answers to common questions, troubleshooting advice, and practical tips to keep your composting smooth, whether you use a classic bin, a compost tumbler, or a lively worm bin for vermicomposting.
From sifting clumpy compost to dealing with persistent twigs, here’s how to handle it all with confidence and a smile.
Why Isn’t My Compost Sifting Easily?
 Photo by Anna Shvets
If you’re finding the sifting process tough, don’t worry—it happens to all composters. Here are the usual reasons and simple fixes:
- Compost is Too Wet: Wet, sticky compost will clump and clog your diy compost sifter. Dry out your compost by letting it air for a day or two, or sift only on dry days.
- Chucks are Too Large: Toss big pieces back into your compost bin or compost tumbler for more time to break down. Stubborn twigs, pits, and rough stems often need another round.
- Mesh is Clogged: Gently brush or knock out debris after each use. If needed, rinse the mesh and dry it before storing.
- Overfilling the Sifter: Smaller amounts sift best. Shake or tap gently instead of forcing it.
A little patience and the right moisture level go a long way. For advice on fixing common tumbler slowdowns, check out troubleshooting compost tumblers.
What If There Are Still Chunks After Sifting?
Finding pieces like nutshells or thick stalks left in your sifter isn’t a problem—it’s part of the process.
These “overs” are just the materials that take longer to break down.
- Return Them: Simply toss them back in your main compost pile, worm bin, or compost tumbler. They’ll finish breaking down over time.
- Spread as Mulch: Some gardeners use overs as mulch around shrubs or trees. Just avoid woody pieces in your seed beds.
Big bits in your sifter show you’re doing it right—no waste, just a little recycling within your system.
How Do I Clean and Care for My Sifter?
Regular cleaning keeps your diy compost sifter in great shape:
- Knock Out Debris: After sifting, give the mesh a light tap or brush-off.
- Wash Lightly: Every few uses, rinse the mesh under the hose and let it dry in the sun.
- Store Dry: Keep your sifter in the shed or garage, away from rain.
If your mixer starts to slow down, don’t forget to check for stuck-on materials. Clean tools last longer and make composting more fun.
Is Sifter Size Important?
Yes, the right size makes sifting easy and safe. A good rule is to match your diy compost sifter to your wheelbarrow or garden tub.
Too large, and it gets heavy. Too small, and it slows you down. Custom sizing is a simple fix when building it yourself.
Can You Sift Vermicompost or Compost from a Tumbler?
Absolutely! Sifting is especially helpful for vermicomposting, where you want to separate fine worm castings from larger scraps and even stray worms.
Compost from a tumbler can also benefit from sifting, since chunky bits sometimes slip through the mixing process.
- With worm bins, sift gently to avoid hurting the worms.
- For tumblers, make sure the batch has finished decomposing for best sifting results.
Both systems benefit from a diy compost sifter—you get finer, richer compost every time.
Common Sifter Problems and Simple Solutions
Let’s run through a few quick fixes for problems you might see:
- Rusty Mesh: If your mesh rusts, swap it out for galvanized wire or hardware cloth next time. A touch of cooking oil on the mesh can also slow rust.
- Loose Staples or Screws: Tighten or replace as needed. Well-built sifters can last many seasons.
- Splintery Wood: Sand down sharp edges before each use if needed.
Simple care keeps your project safe and lasting.
Can I Compost This? Where to Get Fast Answers
Not sure if those old tea bags or bread crusts belong in your pile? Composting has a lot of “can I, can’t I” moments.
For those tricky items, check out the Don’t Toss It – Compost Tips guide. You’ll find a quick reference for everyday kitchen and household scraps so nothing gets wasted.
If you have a specific question, you can use the Compost Charm FAQ and AI Tool for instant advice any time.
Key Takeaways
- Sift dry, crumbly compost for best results.
- Return big leftovers to your pile for another round.
- Clean and store your diy compost sifter after use for a longer life.
- Sifter size and mesh matter; personalize your build for comfort.
- Sifting works for regular bins, compost tumblers, and vermicomposting alike.
- Use guides and FAQs to solve tricky composting questions quickly.
A little troubleshooting and care let you enjoy the best compost your garden has ever seen!
Key Takeaways and Easy Next Steps
You’ve learned that a diy compost sifter isn’t just a fun weekend project—it simplifies composting, keeps your soil smooth, and lets your compost tumbler and vermicomposting bins truly shine.
Ready to put these ideas to use and start sifting with confidence?
Let’s highlight the major points and outline your next moves to make composting a rewarding part of your routine.
 Photo by Kaboompics.com
Key Takeaways
Here’s what you should remember as you set out to create or use your diy compost sifter:
- Sifted compost is easier to use. Fine, fluffy compost means better seed germination, healthier houseplants, and richer garden beds.
- A simple homemade sifter works for anyone. With a few boards and mesh, you can turn compost from your pile, tumbler, or vermicomposting bin into a top-quality soil amendment.
- Timing matters. Wait until your compost breaks down fully before sifting, then recycle larger bits back into the bin.
- Vermicomposting and compost tumblers both benefit from sifting. Get the most out of every system by removing chunks before you add soil to pots or beds.
- Clean and store your sifter after each use to keep it in great condition for years.
- Mix in what you’ve learned. Composting helps the planet and your garden, whether you start big or small.
If you’re just starting to explore composting or want practical steps, check out this easy kitchen waste composting guide for tips on using scraps at home.
Easy Next Steps
Jumping in is the best way to learn, so here’s a quick checklist for anyone ready to sift:
- Choose your compost system.
Already using a compost tumbler or thinking about vermicomposting? Every method works even better with a diy compost sifter. If you’re unsure where to start, review these six effective composting methods to match your lifestyle and space. - Build your sifter.
Follow the steps above or use materials you have on hand for a quick, affordable solution. - Sift when compost is ready.
Finished compost should be dark, crumbly, and smell like fresh earth. Dry is best for easy sifting. - Use or store your compost.
Spread fine compost on your garden, mix it in with potting soil, or store it in a dry bin for later. - Return leftovers.
Toss chunky bits back into your bin or worm box to keep the process going. - Keep learning.
Composting is a journey. Experiment, have fun, and explore different ways to make it fit your home. For a steady supply of insights, the home vermicomposting steps article is a great next read.
Tip: If you ever wonder which items belong in your compost or get stuck with a tricky bin, Compost Charm’s friendly Ask A Question tool is ready with fast answers.
Building and using a diy compost sifter takes the guesswork out of creating perfect, plant-ready compost.
Start simple, use what you have, and watch your garden come to life with every batch of sifted compost.
Conclusion
A diy compost sifter makes home composting easier, neater, and more enjoyable for everyone. It helps both beginners and seasoned gardeners create fluffy, healthy compost that’s ready to nourish any garden bed, container, or houseplant.
By removing leftover bits, you get the most out of your compost tumbler or worm bin and give your plants the best possible start.
Sifting compost isn’t hard, and every batch you make gets easier once you’ve tried it.
If you want fresh tips on how to improve your composting setup or see how hot composting fits in, check out the advice in Eco-Friendly Hot Composting.
Jump in, experiment, and let your garden enjoy the results.
Looking for simple ways to start composting or boost what you already do? The Home Composting Guide is a handy next step.
Key Takeaways
- A diy compost sifter is simple, affordable, and works for all composting styles.
- Sifted compost helps seeds sprout better and roots grow deeper.
- It keeps composting fun and beginner-friendly, with great results for every garden.
- Regular sifting improves results from compost tumblers, classic piles, and vermicomposting setups.
- Every part of your compost—big or small—can be reused for less waste.
FAQs
Do I need special tools to build a diy compost sifter?
No, just basic supplies like wood, wire mesh, nails, and a staple gun or drill. You can even reuse materials from old projects.
Will sifting help compost from a tumbler or worm bin?
Yes, sifting removes big bits, making finished compost finer and easier to use for pots and beds. It’s especially helpful for vermicomposting.
What should I do with bits left in the sifter?
Put them back into your compost bin, tumbler, or worm bin. They’ll keep breaking down for the next round.
How often should I clean my diy compost sifter?
Tap out debris after each use and rinse if needed. Store it in a dry spot to help it last.
Composting, vermicomposting, and using a diy compost sifter all lead to a healthier garden and less waste.
Happy composting!